
Importing User Data
Overview
Once you’ve loaded your product catalog and interaction data, you can optionally include user data. This is where you can provide demographic information about your users that isn’t represented in the interaction data, such as age, gender, and country. Miso will use this information to find correlations between the attributes and user behaviors to improve the Search and Recommendation engine quality. Miso has a standard set of user attributes, but you can also define any custom_attributes that relate to your users.
Sample Record
Below is a sample user record:
{
    "user_id": "user_1234",
    "created_at": "2019-08-24T14:15:22Z",
    "updated_at": "2019-08-24T14:15:22Z",
    "name": "John Doe",
        "profile_image": "http://example.com",
    "age": 33,
    "gender": "M",
    "city": "Mountain View",
    "state": "California",
    "country": "US",
    "group_id": "Northwind Corp",
    "description": "Engineer from Northwind Corp",
    "custom_attributes": {
        "acquisition_channel": "Facebook Campaign 2020",
        "declared_interests": [
            "Drama",
            "Romance"
        ]
}
Figure 1 - The list of supported user attributes
Importing User Data using APIs
User data can be imported using the Users API. The basic call pattern looks like below, with each user in the array following the schema shown in Figure 1:
POST /v1/users
{
    "data": [
        user_1,
        user_2,
        user_3
    ]
}
Figure 2 - A basic call pattern for the Users API
Here’s what a sample request might look like using JavaScript:
const apiKey = "<your private api key>"
const url = `https://data-api.askmiso.com/v1/users?api_key=${apiKey}`

// user objects are wrapped inside {"data": [...]}
// "user_id" is the unique identifier to the user
const payload = [
    {
        "user_id": "user_123",
        "gender": "Female",
        "age": 25,
        "name": "Jane Doe",
        "city": "Mountain View",
        "state": "CA",
        "country": "United States",
        "created_at": "2019-08-24"
    }
]

fetch(url, {
    method: "POST",
    headers: {
      "Content-Type": "application/json"
    },
    body: payload
})
.then(response => response.json())
Figure 3 - A JavaScript example of an API request to Miso
Importing User Data Using an Integration
Miso integrates with popular databases and S3/SFTP to import user data. Please see the full list of integrations and instructions here.
Importing User Data Using Dojo
The recommended method for importing user data is either via the Users API or an integration. However, if you are more comfortable using a point-and-click UI, you can upload a JSON file containing a list of users directly through Dojo.
-
From the left navigation pane of the Dojo Dashboard, under the Data sets category, select Users.
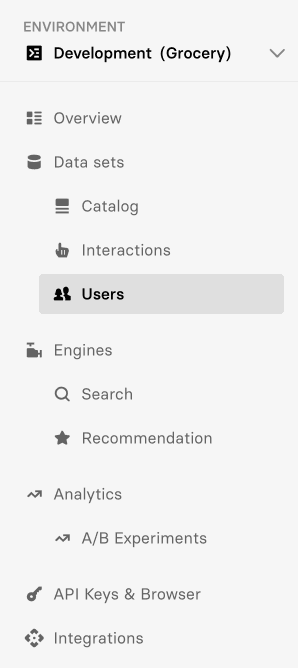
Figure 4 - Dojo navigation pane
-
Select Import data file and either drag and drop the JSON file, or click in the designated area to upload a file from a file browser.
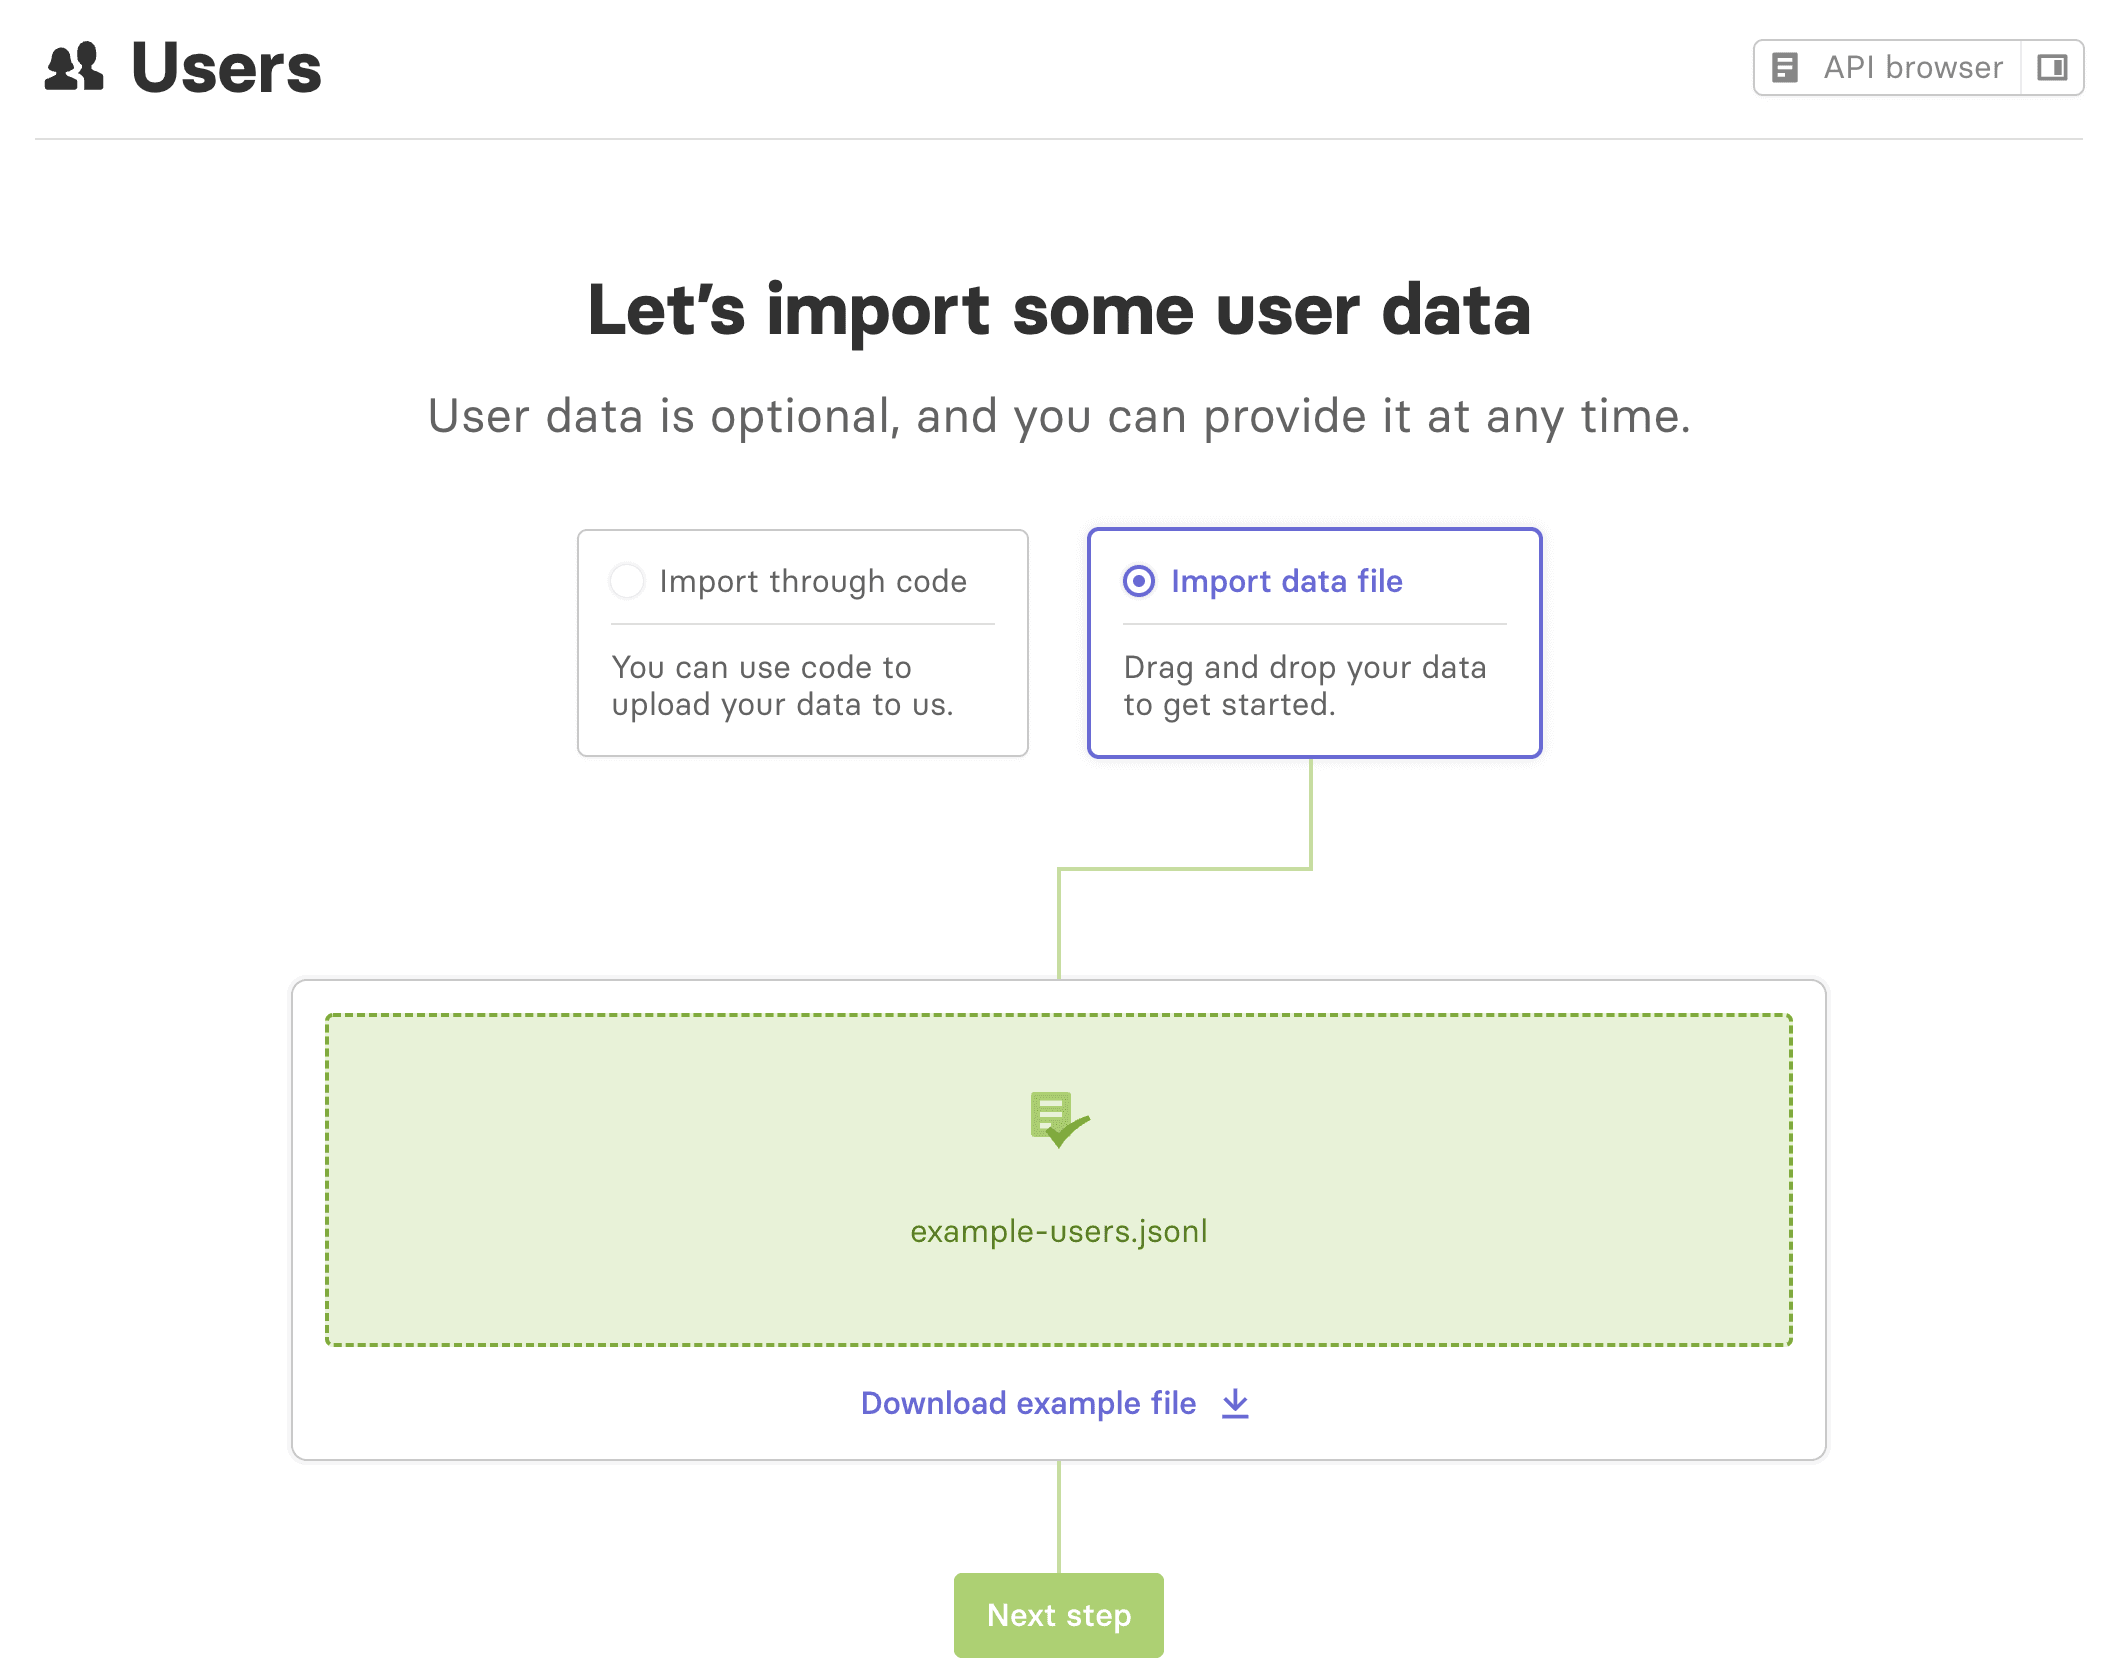
Figure 5 - Importing a data file in Dojo
-
Select Next step.
-
A progress bar will appear as the user data is loaded into Miso. When it’s at 100%, select Next step.
-
If the data load is successful, you will be taken to a dashboard where you can view the uploaded data.
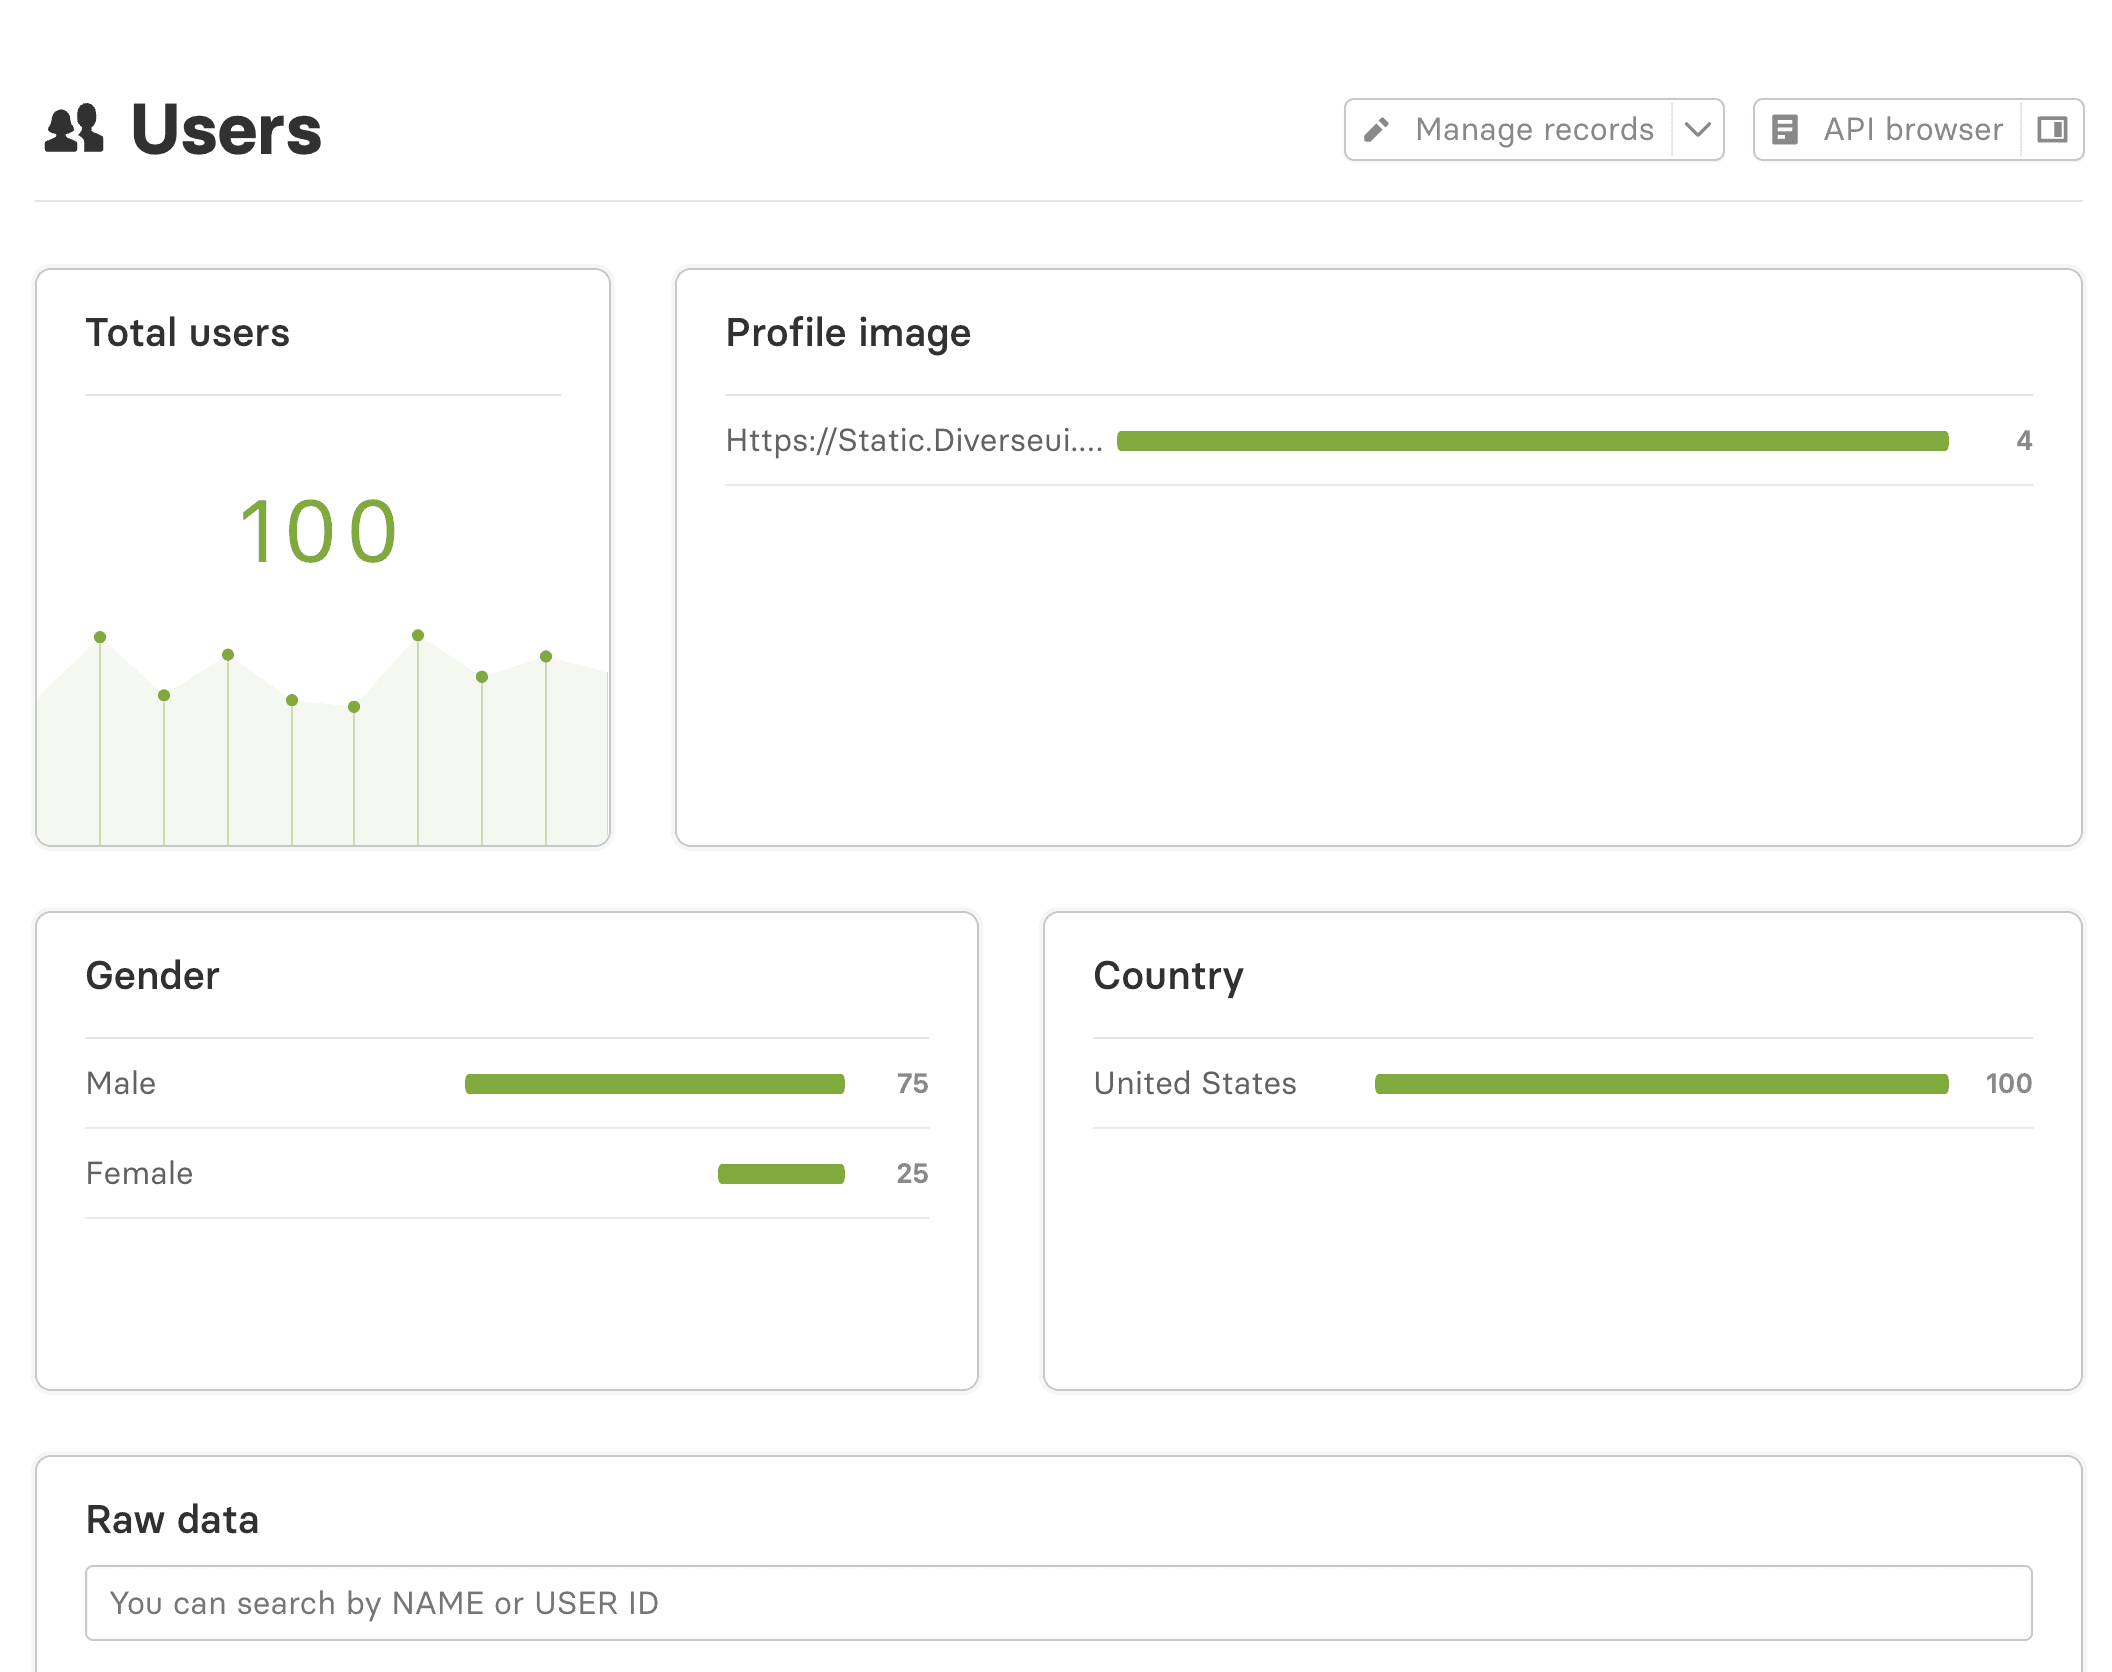
Figure 6 - User data dashboard in Dojo