

Hightouch
Hightouch is a data pipeline tool that specializes in reverse ETL for extracting data from a variety of data warehouses and loading it into SaaS platforms.
Introduction
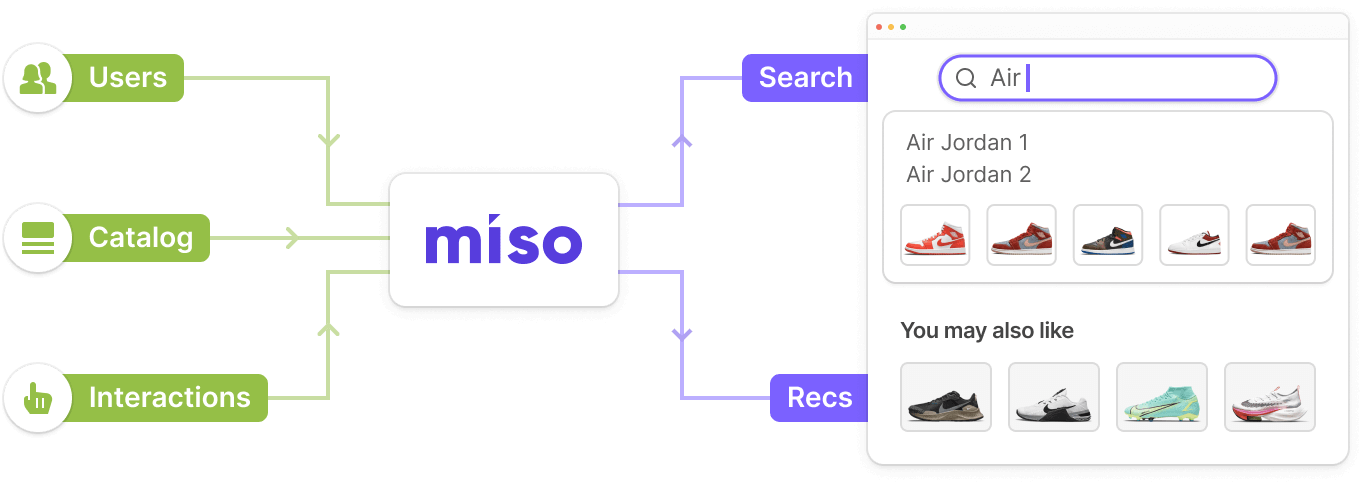
Hightouch is a data pipeline tool that specializes in reverse ETL for extracting data from a variety of data warehouses and loading it into SaaS platforms. Using a webhook, Miso supports real-time integration with Hightouch so that first-party data, such as customer interactions, can be automatically pushed from your data warehouse to Miso’s Search and Recommendation engines.
What’s a webhook?
A webhook is a type of API that allows web applications to communicate with each other in real-time. Unlike traditional APIs, webhooks are driven by events, rather than requests. The webhook provider (in this case, Hightouch) is supplied a URL of where to send data as it is generated. In contrast, a traditional API requires you to pull data on a frequent cadence, regardless of whether or not there is new data available.
Integration Steps
Set up the source data
-
Log into Hightouch and select Sources from the left navigation bar of your workspace.
-
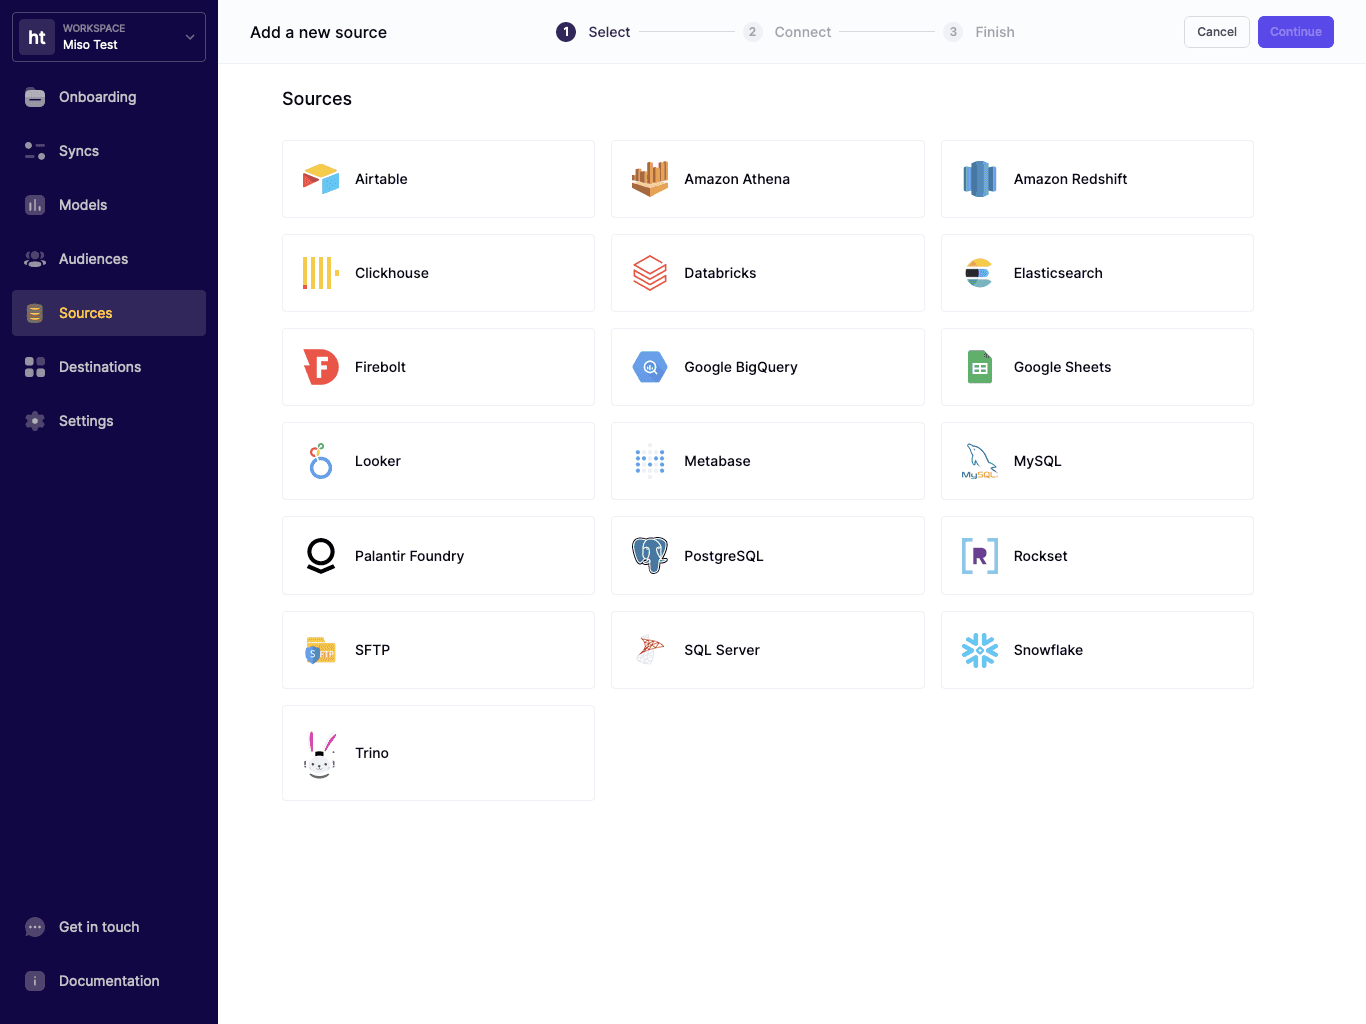
Select Add source.
-
Choose from one of the available sources and select Continue.
-
Depending on the source, you will need to fill in the connection details, such as an API key or server address. Afterwards, select Continue.
-
Provide a descriptive name for your source connection and select Finish.
Set up a data model
-
Once you’ve set up the source data, let’s use it to create a data model to send to a destination. Select Models from the left navigation bar of your workspace.
-
Select Add model.
-
Select the source data connection that you created in the previous step and select Continue.
-
Depending on the type of source data, you will need to specify the rows/columns that you want to send to Miso. For example, if you’re using a SQL-based source, you would see the following screen:
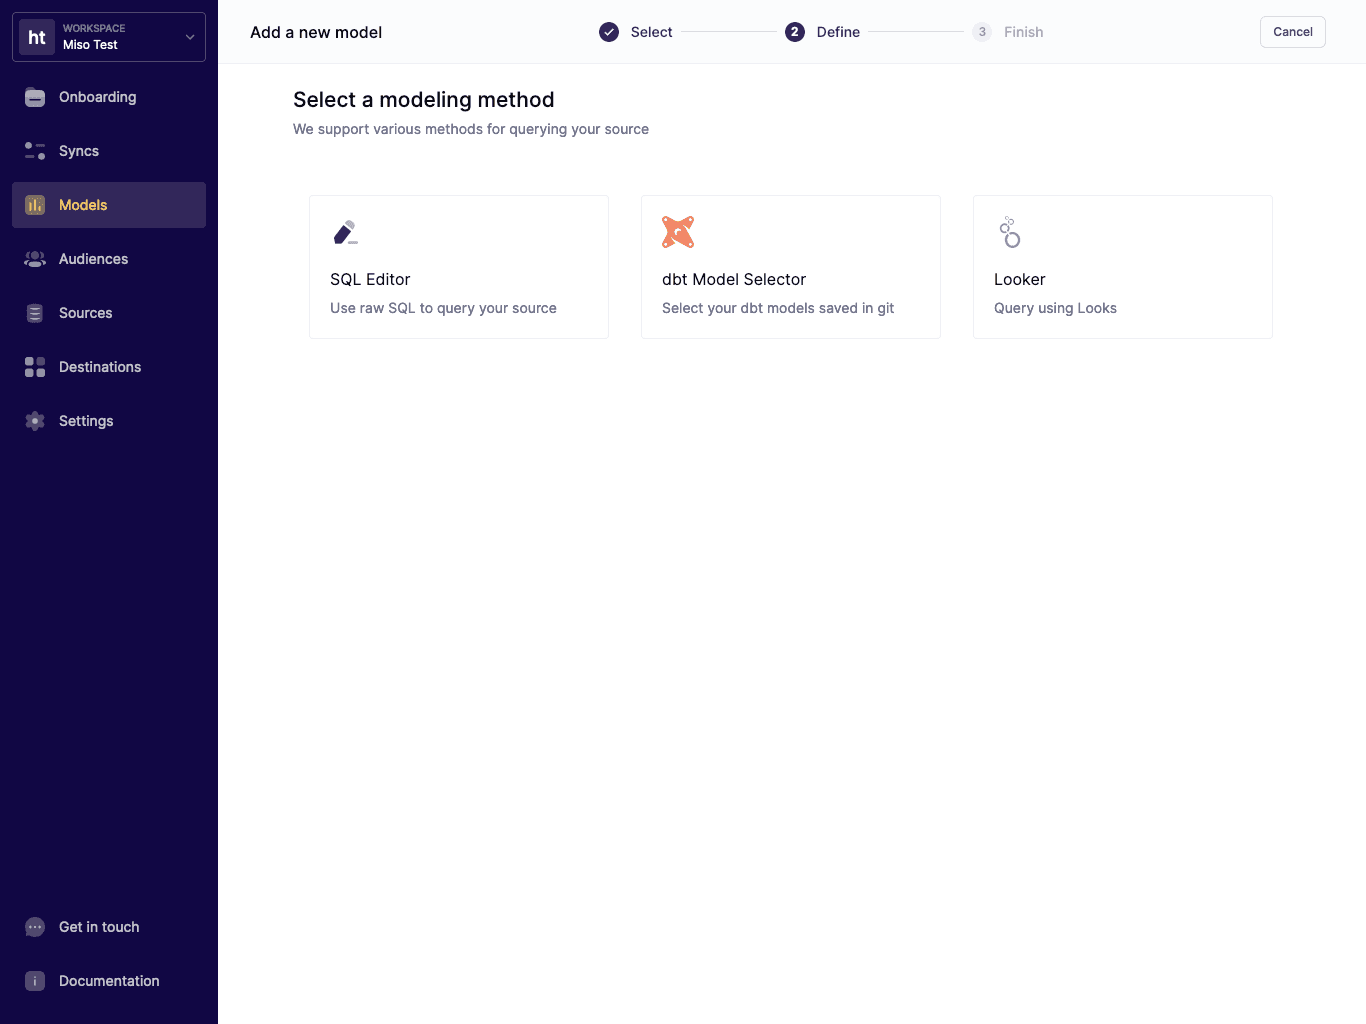
Select SQL Editor.
-
Write a SQL query inside the SQL editor that includes all of the rows/columns that you want to send to Miso. For example, if you have a table called interactions that contains customer interactions and want to send Miso everything from 2021 onwards, your query might look like:
select *
from interactions
where created_at >= '2021-01-01 00:00:00'
Select Continue when you’re done.
-
Provide a descriptive name for your model and select Finish.
Set up the destination
-
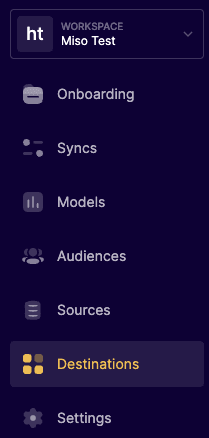
Once you’ve set up the data model, you’ll need to specify where to send the data. Select Destinations from the left navigation bar of your workspace.
-
Select Add destination.
-
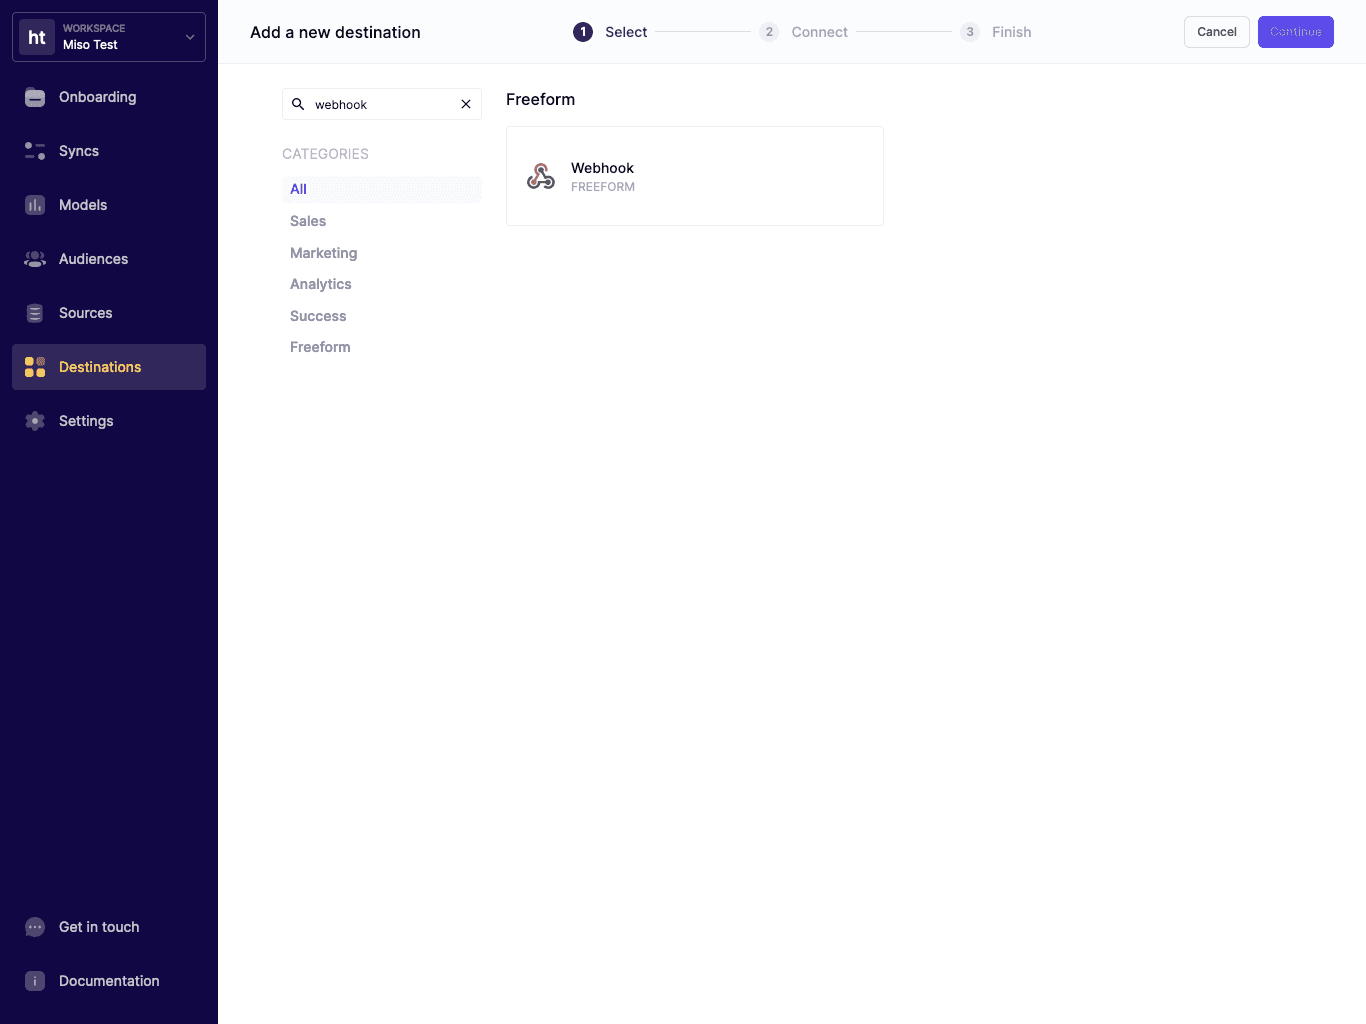
From the destinations catalog, select Webhook under the Freeform catagory and select Continue.
-
At the next screen, enter the webhook URL (including the webhook token provided by your Miso Support Team):
https://webhook.askmiso.com/services/hightouch?token={webhook_token}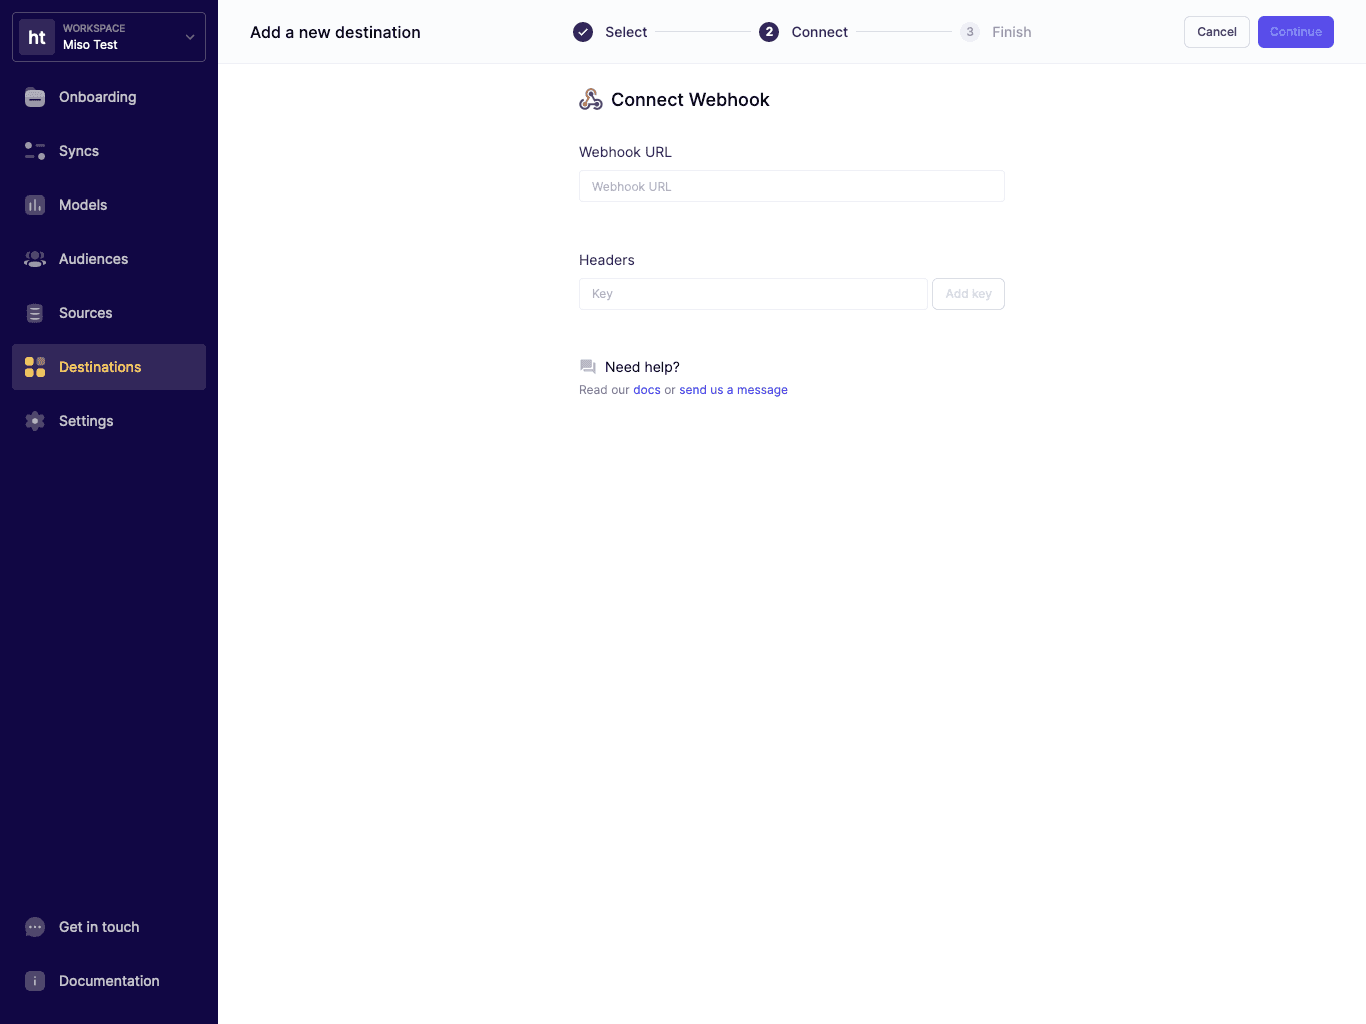
-
Provide a descriptive name for your destination connection and select Finish.
Set up the data sync
-
Once you’ve set up the source data, data model, and destination, the final step to bring it all together is to create a data sync. Select Syncs from the left navigation bar of your workspace.
-
Select Add sync.
-
Select the model you created previously and select Continue.
-
Select the destination you created previously and select Continue.
-
On the next page, you will be able to configure the data sync with several options.
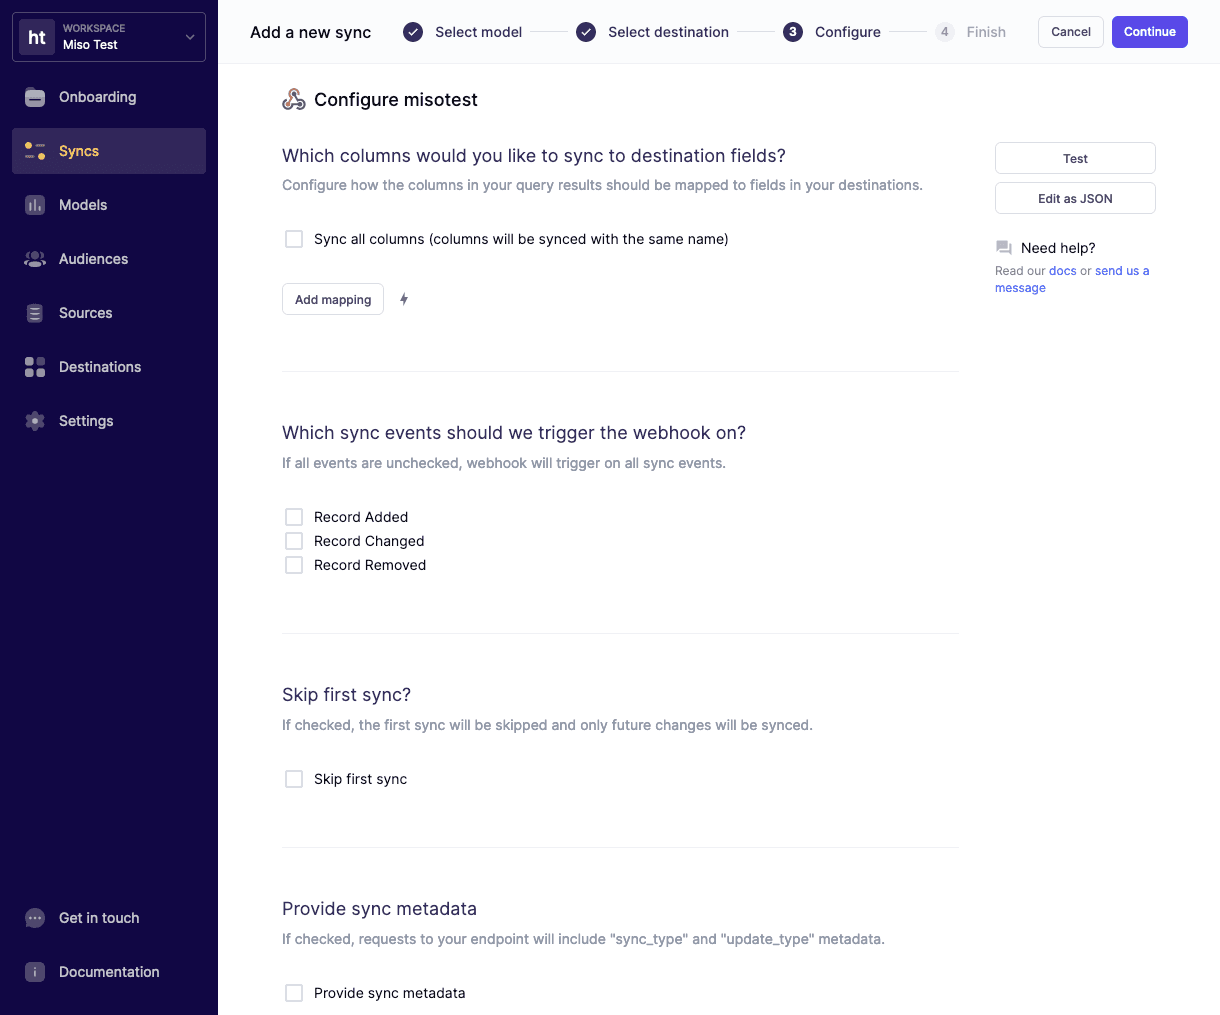
Here are Miso’s recommended settings:
-
Which columns would you like to sync to destination fields?
- If the column names in the source data and/or data model are the same as the JSON fields in Miso’s Interaction, Product, or User API payload schemas, simply check “Sync all columns”. Otherwise, you will need to manually provide the mapping to Miso.
-
Which sync events should we trigger the webhook on?
- Leave all events unchecked (default)
-
Skip first sync?
- Leave unchecked (default)
-
Provide sync metadata
- Leave unchecked (default)
-
Which request method would you like to use to send changed records?
- POST
-
How should the request body be formatted?
- JSON
-
Would you like to send a batch request or a single row?
- Send a batch of rows per request
-
How many rows would you like to send per batch?
- Please select a number no larger than 50.
-
-
At this point, you can send a test row to Miso using the Test feature. If the response is successful, select Continue.
-
Set a schedule that makes sense for your business and select Finish.
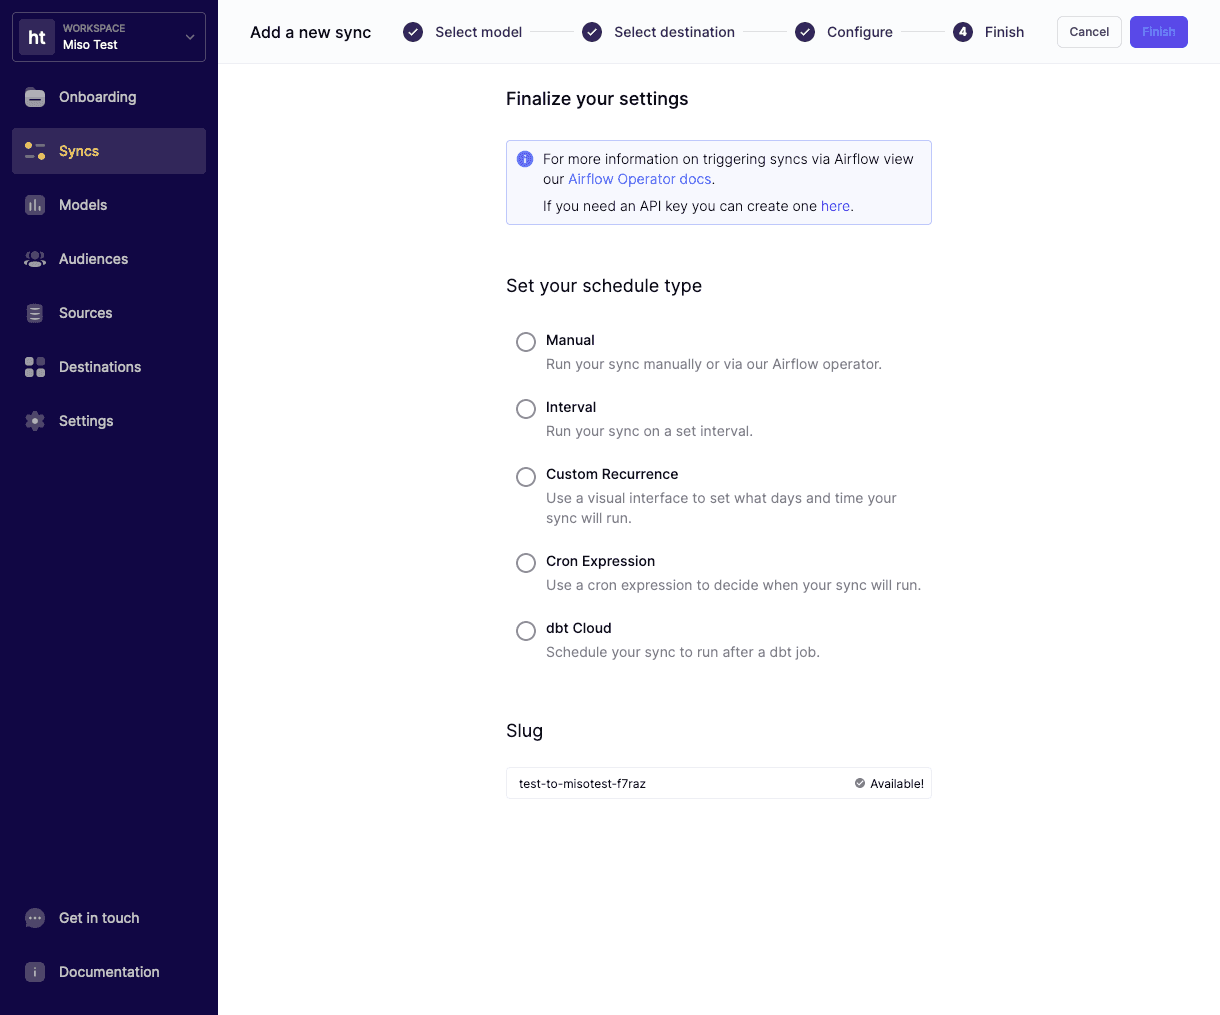
With that, you’ve successfully set up your Hightouch integration with Miso!
Tips and Tricks
-
How does Miso detect the data type?
- If the payload contains the
typefield, Miso will detect it as an interaction data type. - If the payload contains the
user_idfield, Miso will detect it as a user data type. - If the payload contains the
product_idfield, Miso will detect it as a product data type.
- If the payload contains the
-
What are the various status codes and what do they mean?
201- Miso’s server successfully created the record.202- Miso’s server successfully deleted the record.204- Miso’s server did not create, update, or delete any records.401- The webhook token is invalid.422- The payload doesn’t contain either atype,user_id, orproduct_id. You may also see this error if you are sending invalid type of interaction record. Please refer to the API documentation for supported interaction types.500- All other errors. Please contact your Miso Support Team for troubleshooting assistance.
-
How can I send nested fields in the payload, such as for
custom_attributesand interactioncontext?-
Use double underscores (
__) in the field title to indicate a parent/child relationship. For example, sendingcontext__custom_context__user__phone = "1234567890"will convert to JSON like this:{ "context": { "custom_context": { "user": { "phone": "1234567890" } } } }
-
-
How can I rename fields from my source data so that they match Miso’s upload schema?
-
Aside from mapping the fields manually within the data sync configuration, you can also rename fields within the SQL editor (when applicable). For example:
select id as user_id, email, name, is_active, created as created_at
from users;
This SQL will convert the payload to the following JSON format and send it to the webhook server:
[
    {
        "user_id": "53f1eb36-b15f-4e5d-b7d5-a0bb7ad2b89a",
        "email": "xwang@askmiso.com",
        "name": "xtest",
        "is_active": True,
        "created_at": "2020-08-21T04:41:47.000Z",
    }
]
-
Additional Resources
For more information on Miso’s API, check out the official API Documentation.
For more Integrations like this, visit the Integrations page on our Docs site.
Published Date: April 25th, 2022