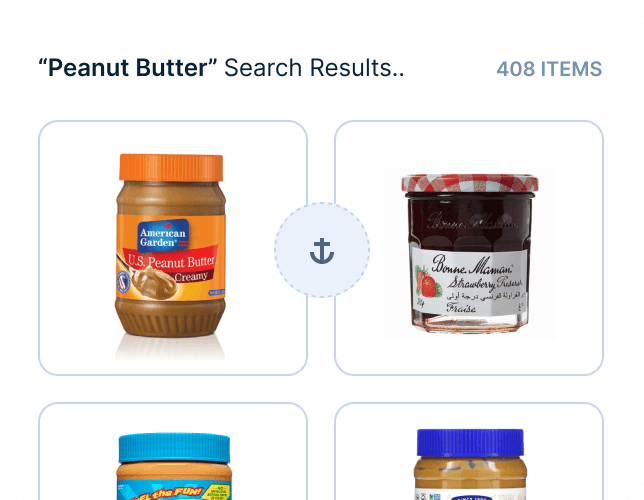
Anchoring
Create links between similar products so that they appear close together in search results
Introduction
Anchoring refers to the e-commerce merchandising practice of explicitly associating similar products so that they appear close together in a user’s search results.
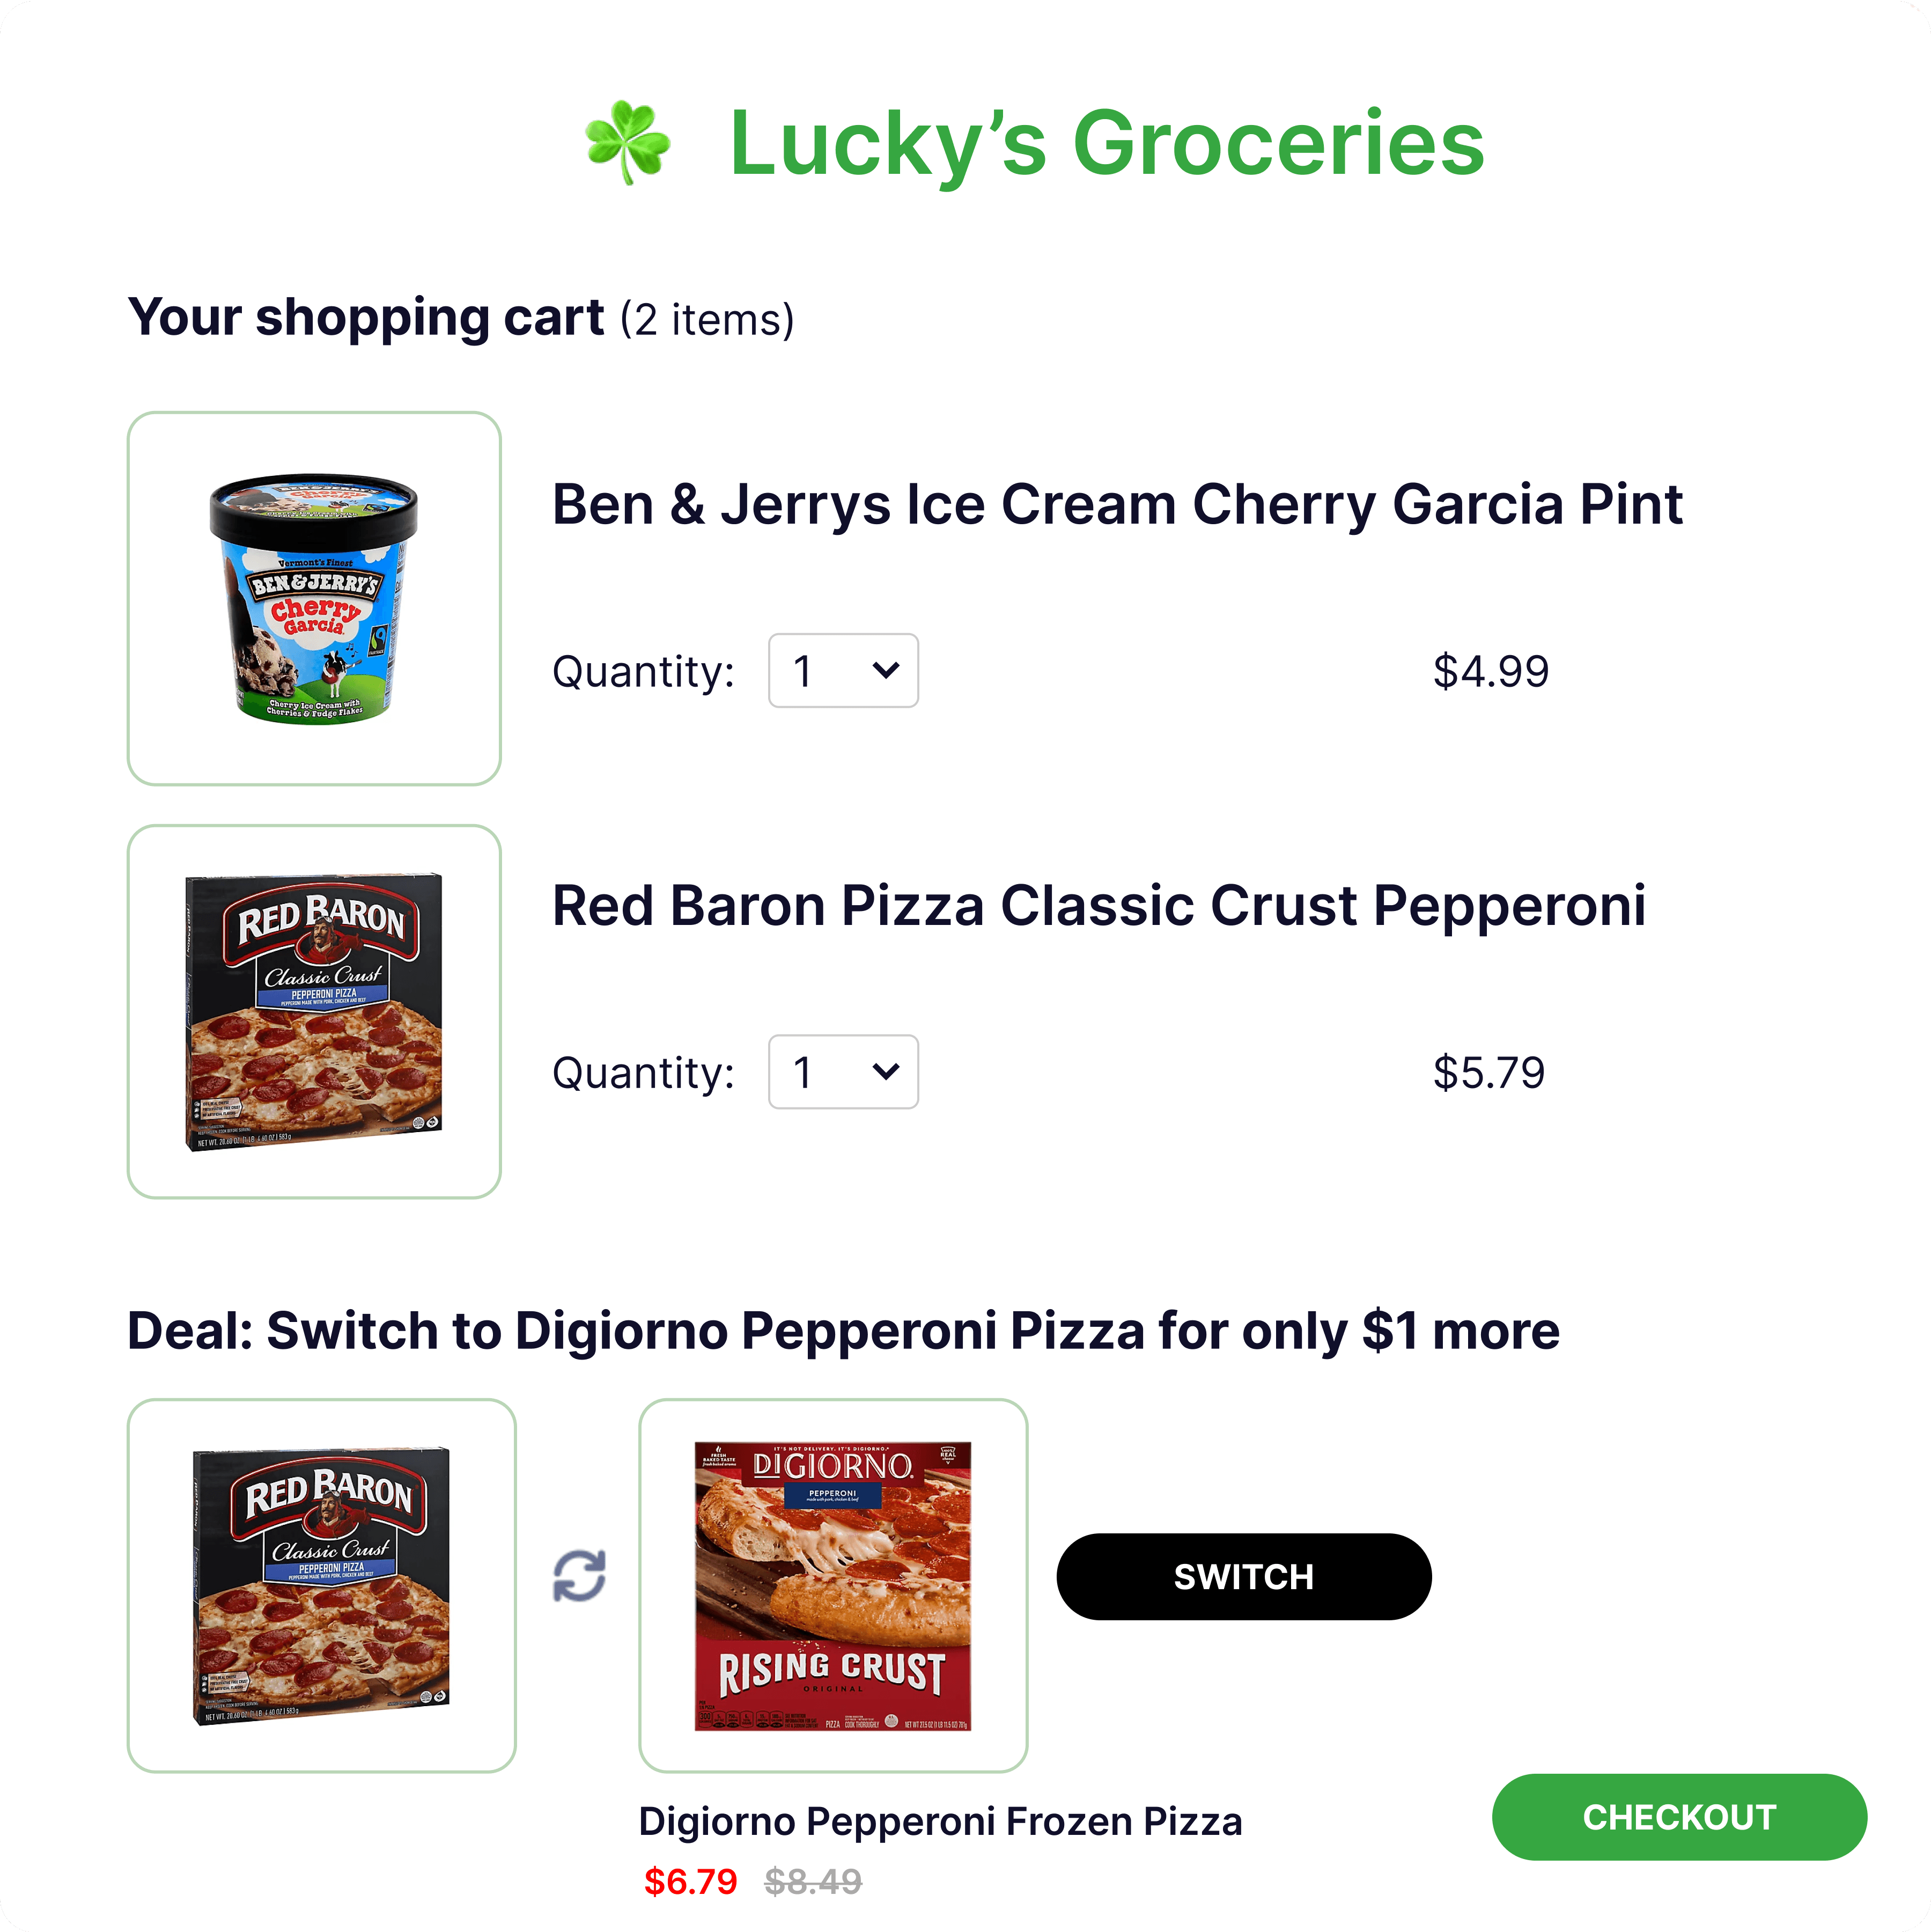
A common example of anchoring is promoting a private-label good alongside its name-brand counterpart. Typically, private-label goods are lower priced, have little-to-no discernible difference in quality (they often have the same manufacturer as their name-brand competitor), and have significantly higher profit margins for the retailer.
In a brick and mortar store, you could create an explicit association between the private-label and name-brand products by stocking them side by side and presenting the private-label version as a viable alternative. Miso’s Search API supports similar functionality using the anchoring_settings parameter.
Do it with Dojo
Let’s build off the previous example to see how we can promote a private-label snack using Dojo. Suppose we are running an online grocery store where the following name-brand snacks are most frequently purchased (among many other similar products):
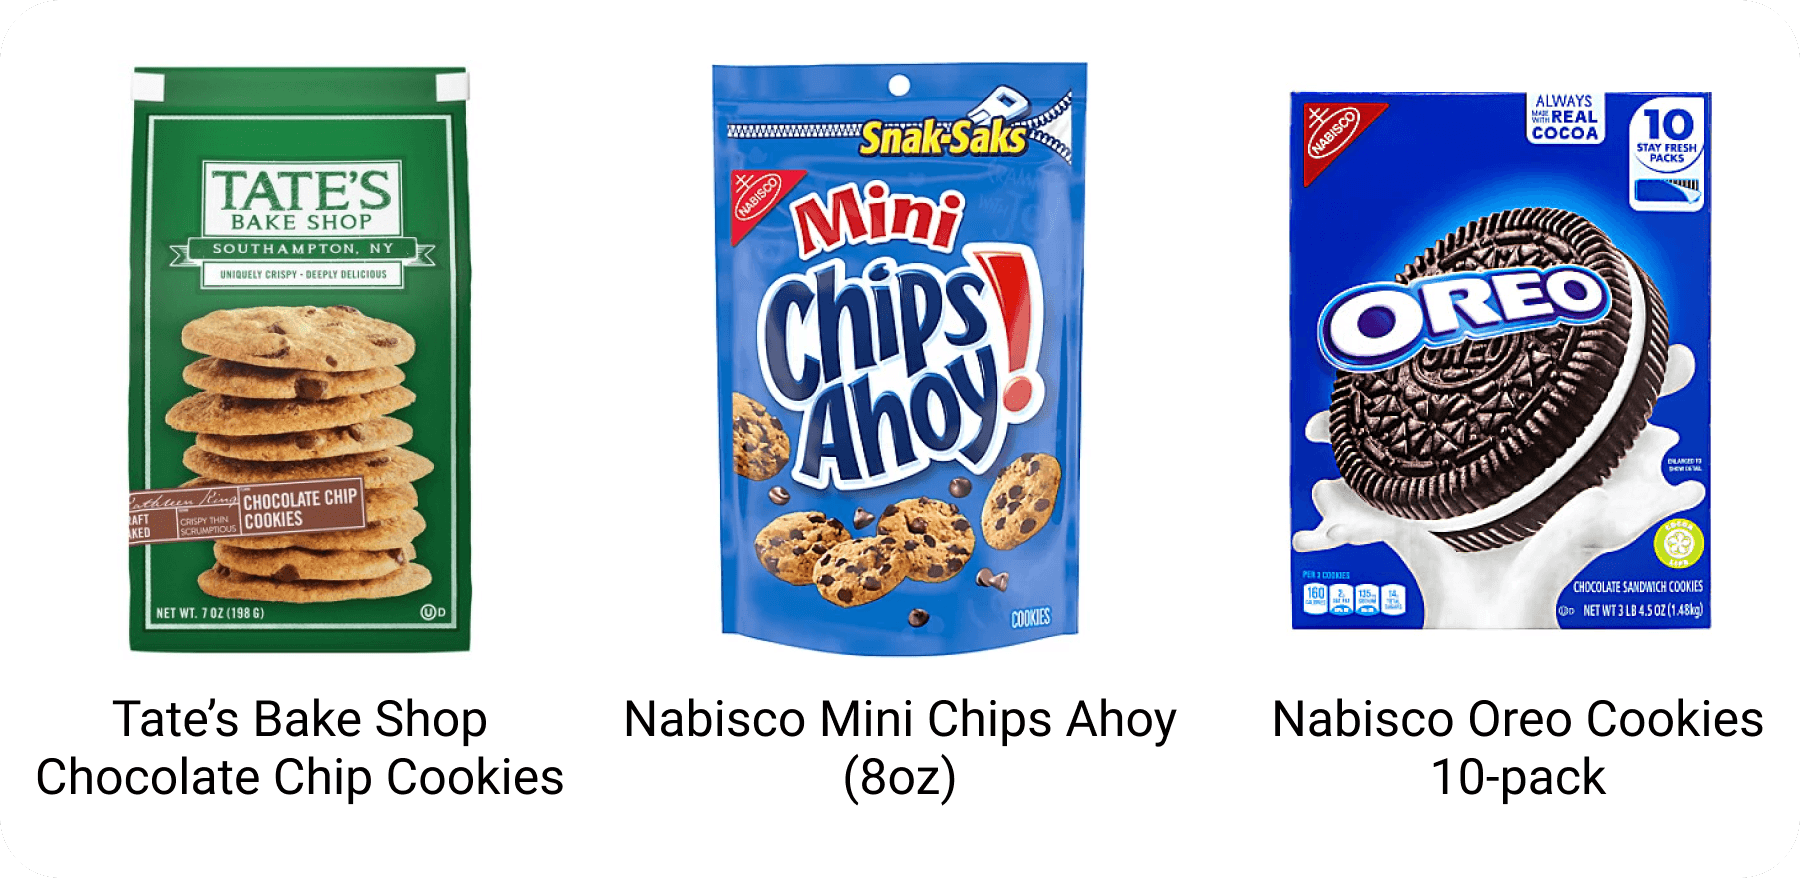
The best-selling snacks above are our anchors. Suppose we’d like to increase sales of our own private-label box of cookies called “LG’s Chocolate Wafers”. By creating an Anchoring Campaign, we can configure the Search Engine to return the chocolate wafers whenever an anchor snack appears in search results.
-
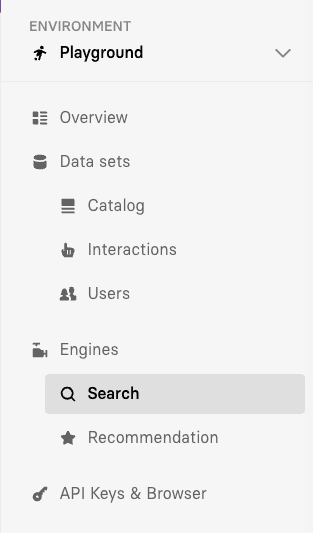
From the left navigation pane of the Dojo Dashboard, under the Engines category, select Search.
-
Navigate to the Anchoring tab, where you can create and manage anchoring campaigns. An anchoring campaign is where you specify a product to promote, the anchor products, and the desired position of the promoted product relative to the highest ranked anchoring product.
-
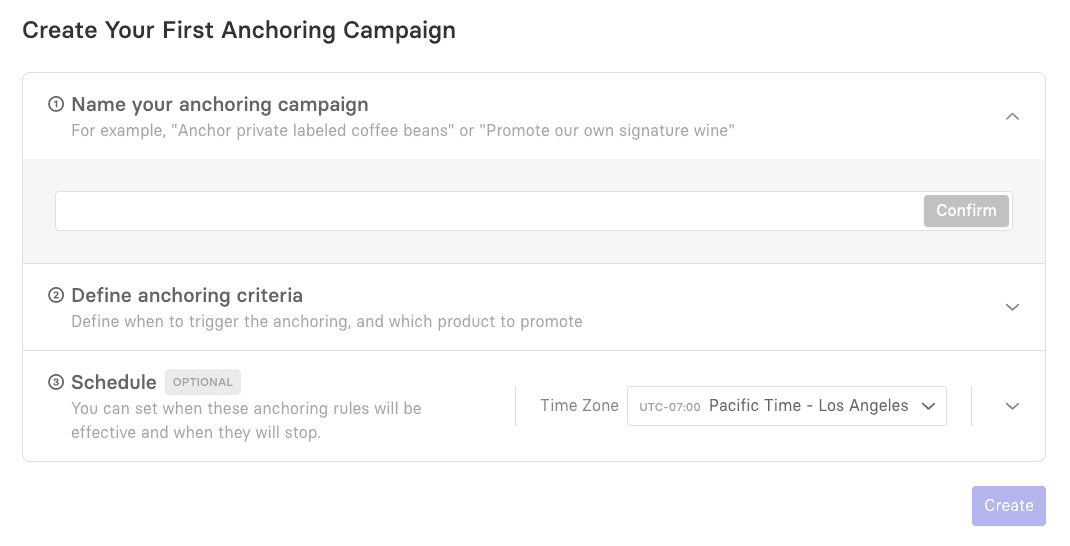
Name your anchoring campaign - Give your anchoring campaign a descriptive name and press Confirm. Let’s name our anchoring campaign: “Private Label Cookies”.

-
Define anchoring criteria - In this section, you must specify the product to promote, the anchor product(s), and the desired position of the promoted product relative to the highest ranked anchoring product.
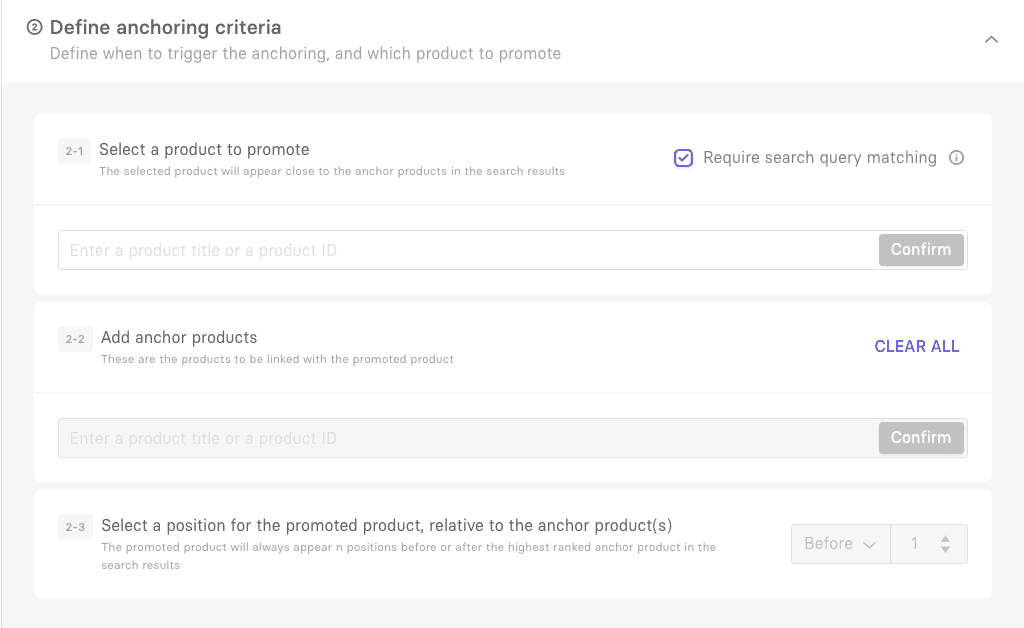
First, in 2-1, select a product to promote by entering its
titleorproduct_id. We'll type in our private-label cookies, "LG’s Chocolate Wafers". Note: The product can be selected from the autocomplete drop-down as you begin typing.The Require search query matching checkbox is selected by default. This limits the anchoring to only occur if both products match the search query. Uncheck this box if you want to anchor complementary products instead.
Next, in 2-2, we'll type in the first anchor product, "Nate's Bake Shop Chocolate Chip cookies", and select Confirm. Repeat the step for the other anchor products.
Finally, in 2-3, we need to select the position of the promoted product, relative to the anchor products. In our case, we want the promoted product, the chocolate wafers, to appear right before the highest rated anchor product so we'll keep the default settings.
-
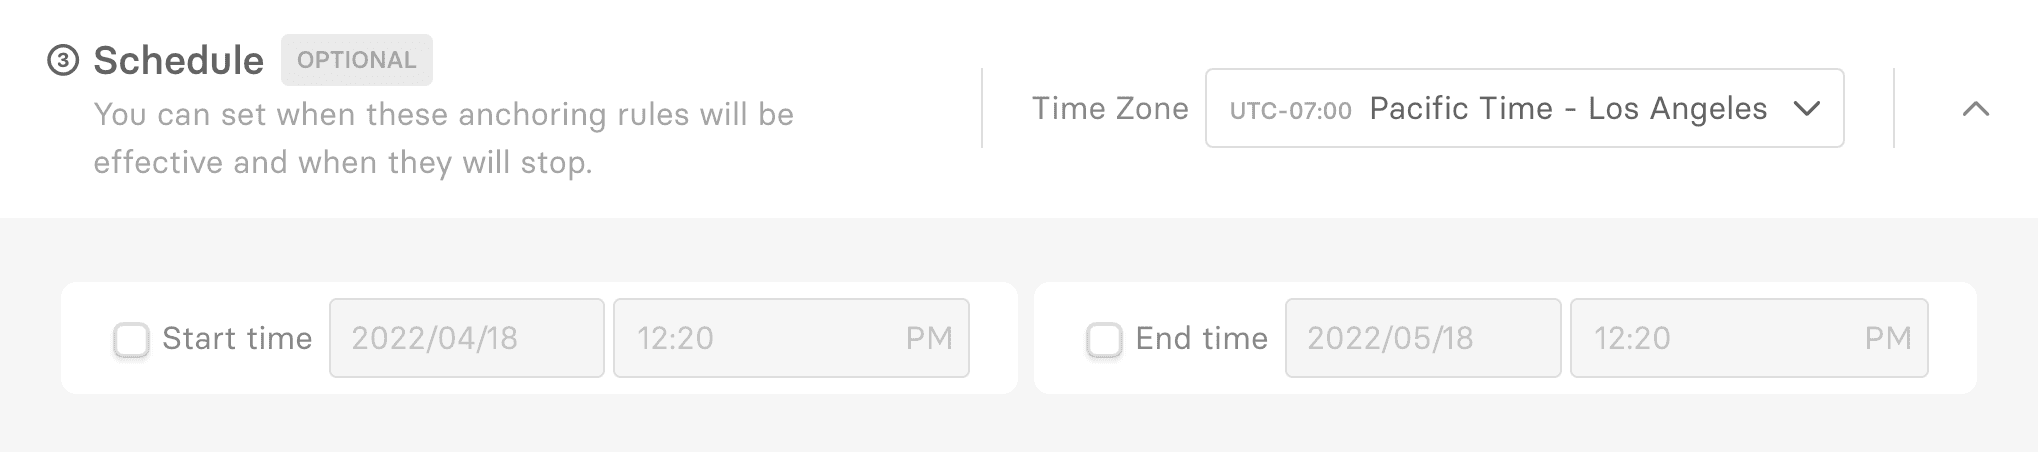
Optional: Schedule - You can include a date/time range for your anchoring campaign. This is useful for setting up campaigns in advance or for seasonal campaigns such as holiday sales.
-
When you're finished, select Create to finalize the configuration of the anchoring campaign. On the main anchoring tab, toggle the GO LIVE switch to on to start using the campaign. If you’ve scheduled your campaign to run during a specific timeframe, it will automatically go-live on the start date/time.
Do it with APIs
As an alternative to Dojo, the anchoring_settings parameter within the Search API allows you to specify a product that you would like to promote (using its unique product_id) and the set of products to be used as anchors. You also need to specify the position that you want the promoted product to be returned within the search results (relative to the highest-ranked anchor product).
Let's revisit our previous example and use the anchoring_settings parameter to configure our Search API to return the chocolate wafers whenever an anchor snack appears in search results.
Implementing the anchoring_settings parameter
Using the Search API, include the following schema inside the request body:
POST v1/search/search
{
...
"anchoring_settings": [
{
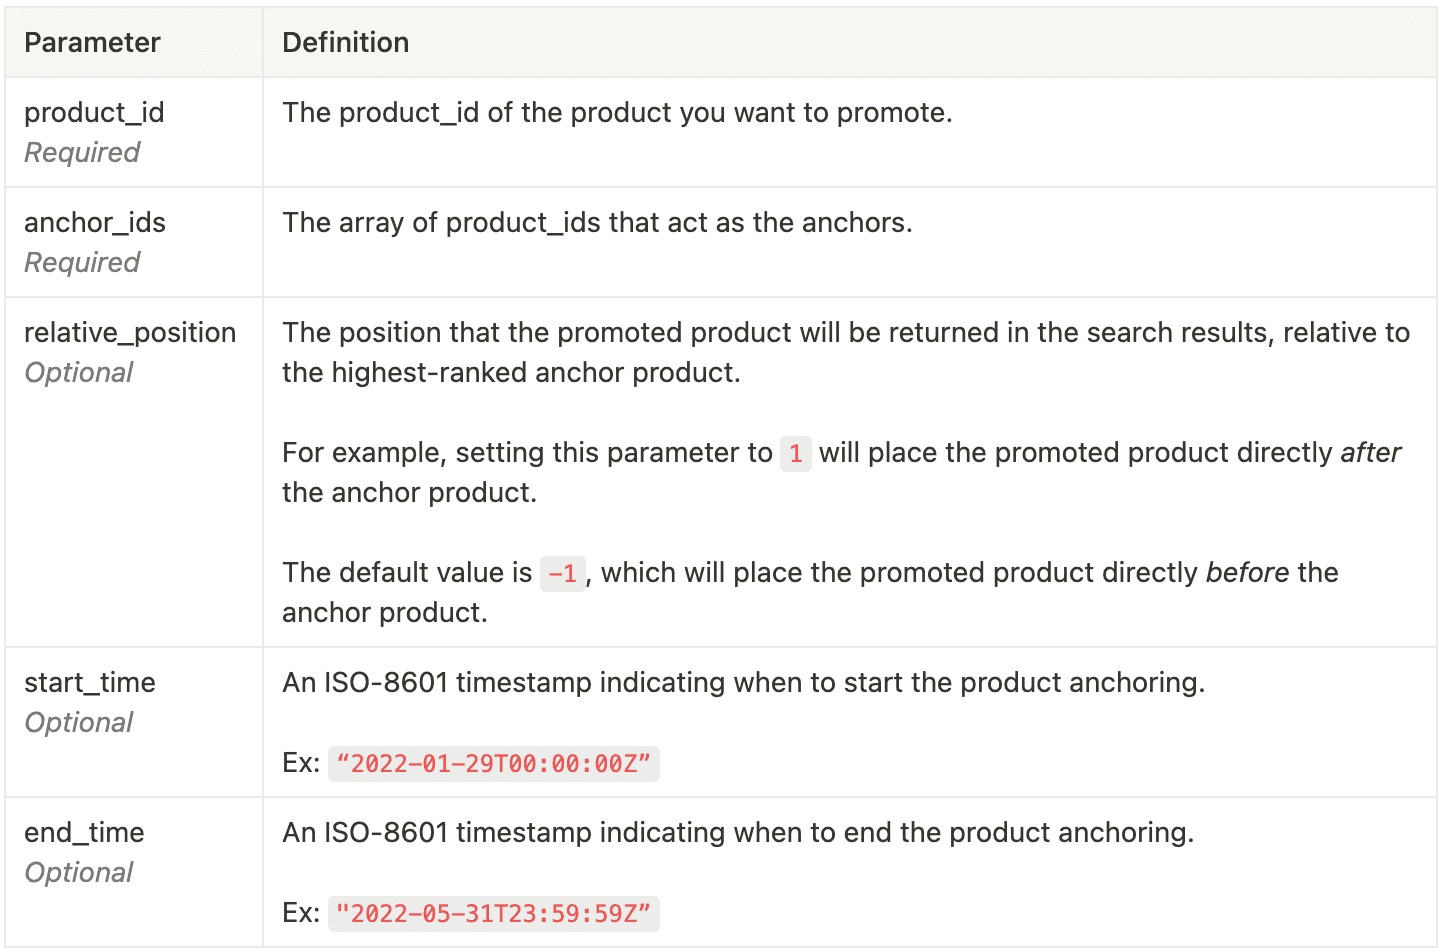
"product_id": "string",
"anchor_ids": [
"string"
],
"relative_position": int, //optional
"start_time": "string", //optional
"end_time": "string" //optional
}
}
]
For our example, the Search API might look like the following:
POST v1/search/search
{
...
    "anchoring_settings": [
     {
         "product_id": "lg_choc_wafers",
         "anchor_ids": [
         "tate_choc_chip",
         "nabisco_chips_ahoy",
         "nabisco_oreo_10pk"
         ],
         "relative_position": -1,
         "start_time": "2022-01-01T00:00:00Z",
         "end_time": "2022-12-31T23:59:59Z"
         }
     }
]
With this API request, whenever a user performs a search that would normally return any of the three snacks, our private-label snack LG’s Chocolate Wafers, is returned one position before the highest-ranked anchor snack. We have successfully anchored our product!
Additional Resources
For more information on Miso’s Search API, check out the official API Documentation.
For additional personalization use-cases, visit the Recipes page on our Docs site.
Published Date: April 18th, 2022
API Reference
Need more info on the API? Check out our dedicated API page with all the info you could ever want.
Read API Reference