Boosting, Pinning, and Burying
Create campaigns to promote or demote specific products or brands to customize the order in which they appear search results
Introduction
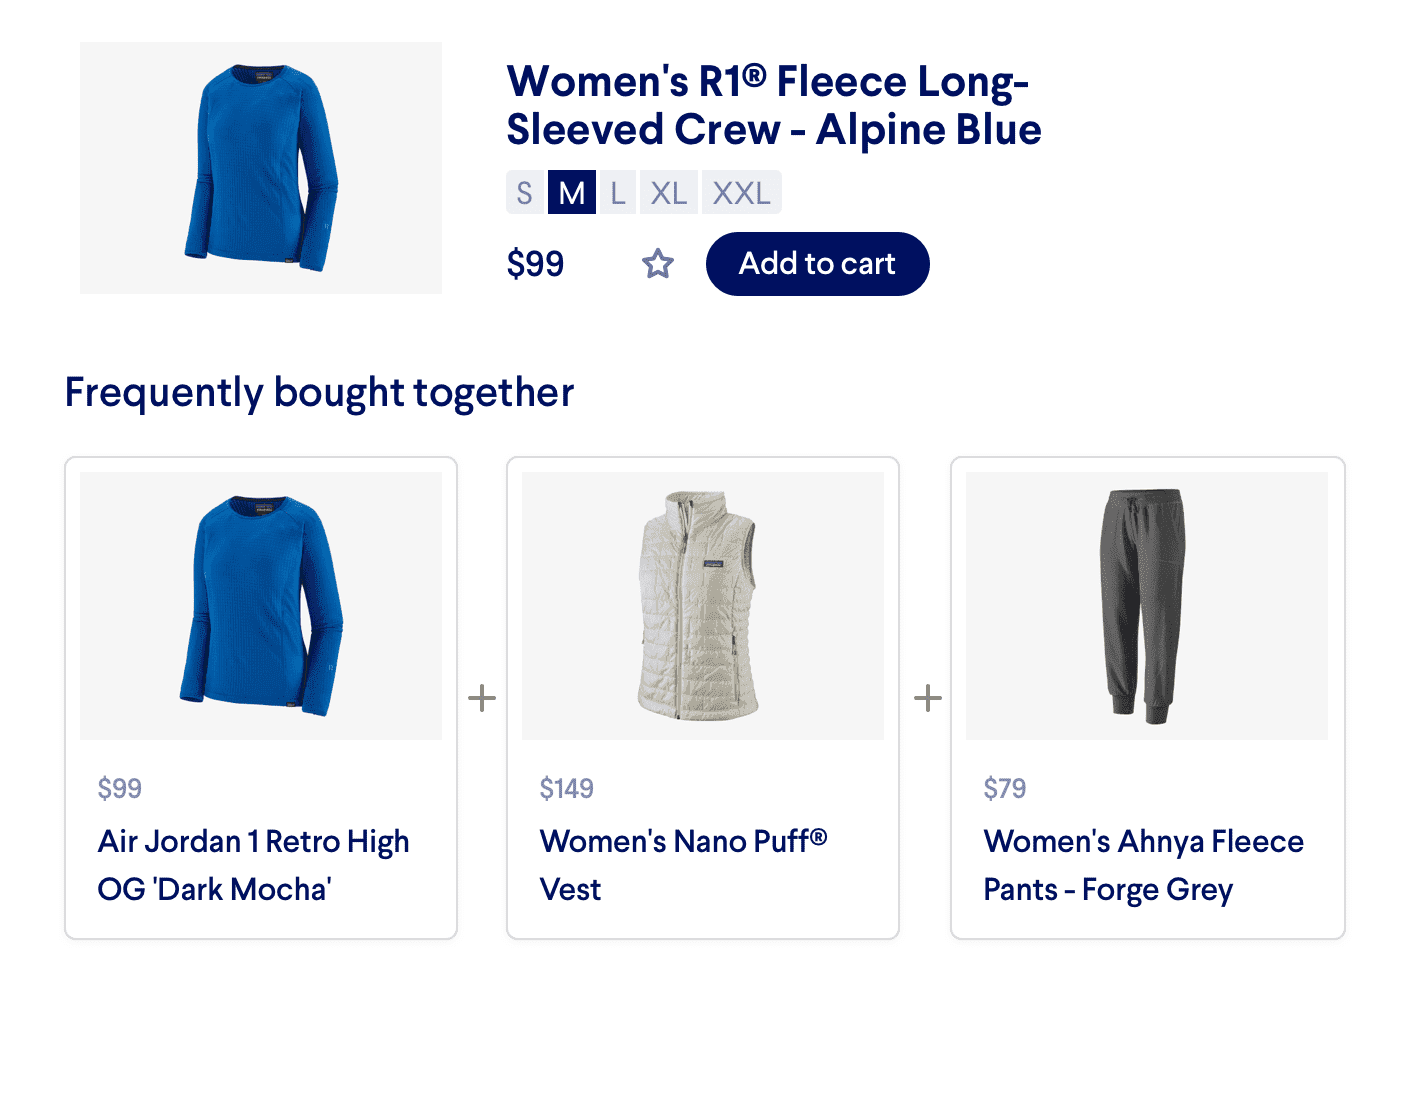
Boosting is the promotion of a subset of products to the top of a customer’s search results or recommendation feed.
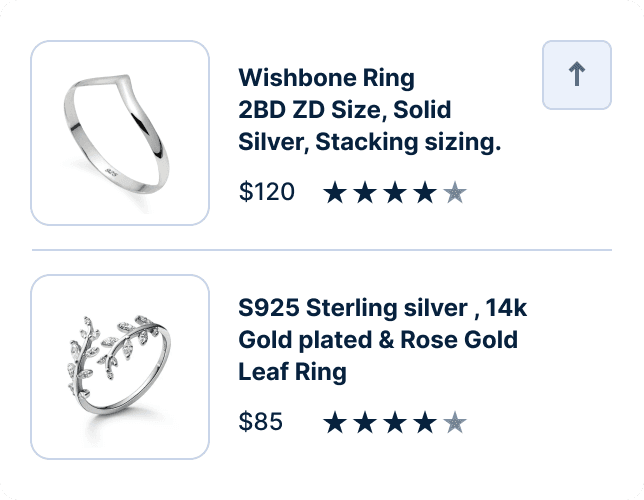
Pinning is a type of boosting where products are strategically promoted to specific positions, not necessarily at the top of the list.
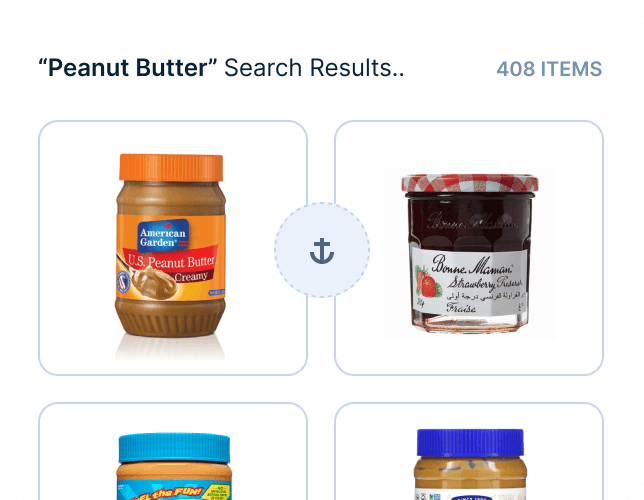
Burying is the opposite of boosting, where a subset of products are demoted to the bottom of a customer's search results or recommendation feed.
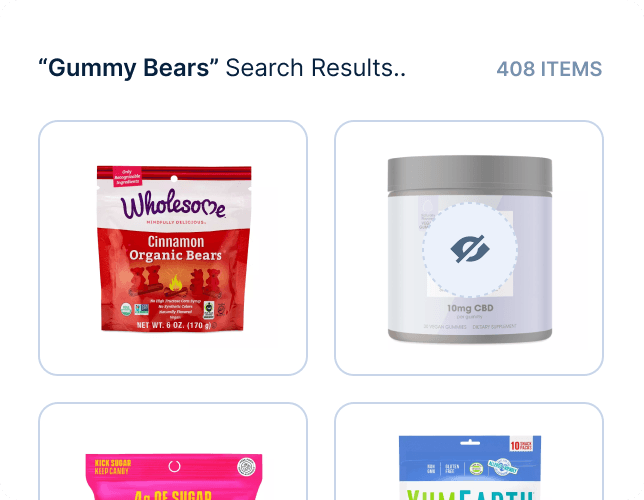
Popular use-cases for boosting and pinning include: “editor picks”, vendor deals, and seasonal goods. On the other hand, burying can be used for products that have low review scores, a thin margin, or whose metadata quality is below a certain threshold (e.g. low resolution images, lacking an accurate description)
By default, Miso’s Search and Recommendation Engines will return and rank the most relevant results to the user, based on a combination of user insights, semantic query analysis, and product catalog understanding. With boosting, pinning, and burying, you can fine-tune those results to better align with your unique business objectives.
Let’s take a closer look at how we can apply the concepts, using both Dojo and programmatically via APIs.
Do it with Dojo
In this example, we’ll practice merchandising with a fictional online grocery store. We’ve been tasked with promoting the sale of “Red Baron” branded frozen pizzas due to a vendor discount for Super Bowl weekend. Additionally, there is a specific SKU (product id: 910224) that is excluded from the promotion and so we don't want to promote that to our customers.
-
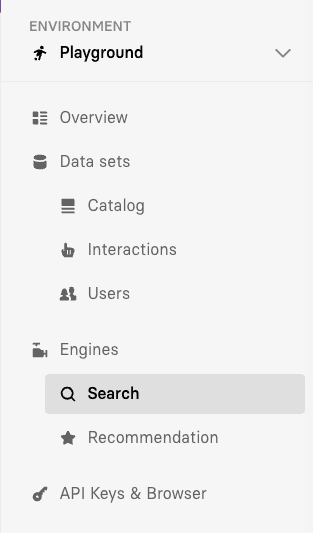
From the left navigation pane of the Dojo Dashboard, under the Engines category, select Search.
-
Navigate to the Boosting tab, where you can create and manage boosting campaigns. A boosting campaign is where you specify both a query trigger and the resulting set of promoted products.
-
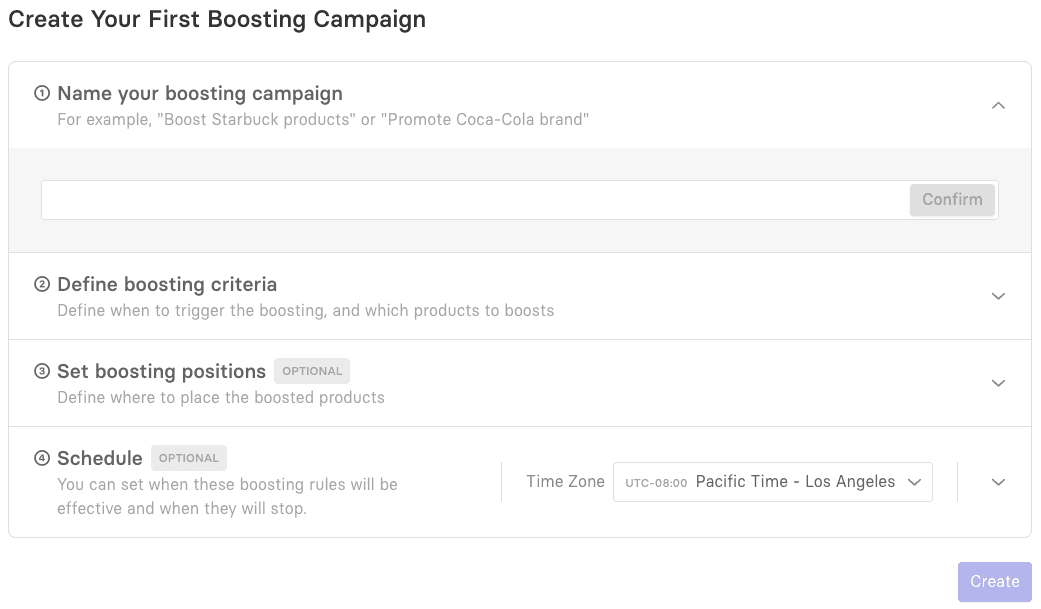
Name your boosting campaign - Give your boosting campaign a descriptive name and press Confirm.
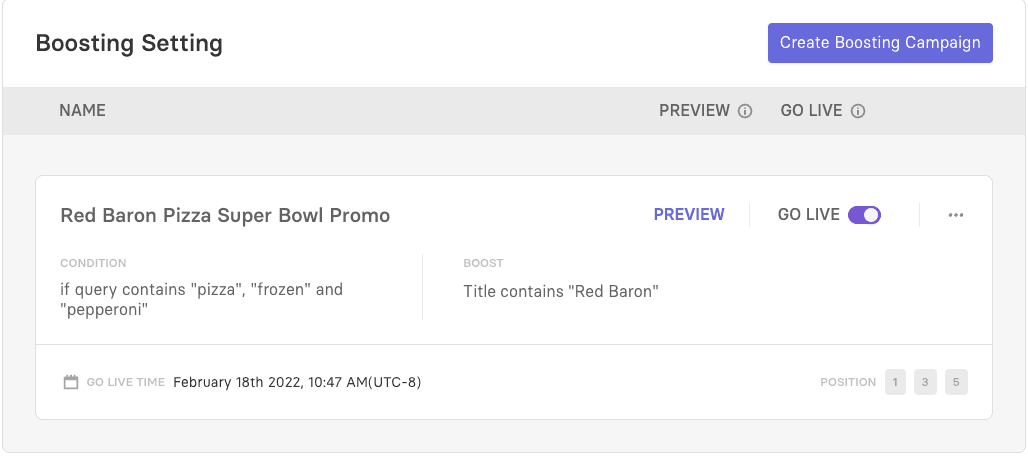
Let’s name our boosting campaign: “Red Baron Pizza Super Bowl Promo”

-
Define boosting criteria - In this section, you must specify the criteria for triggering the boosting campaign and the set of products to be boosted.
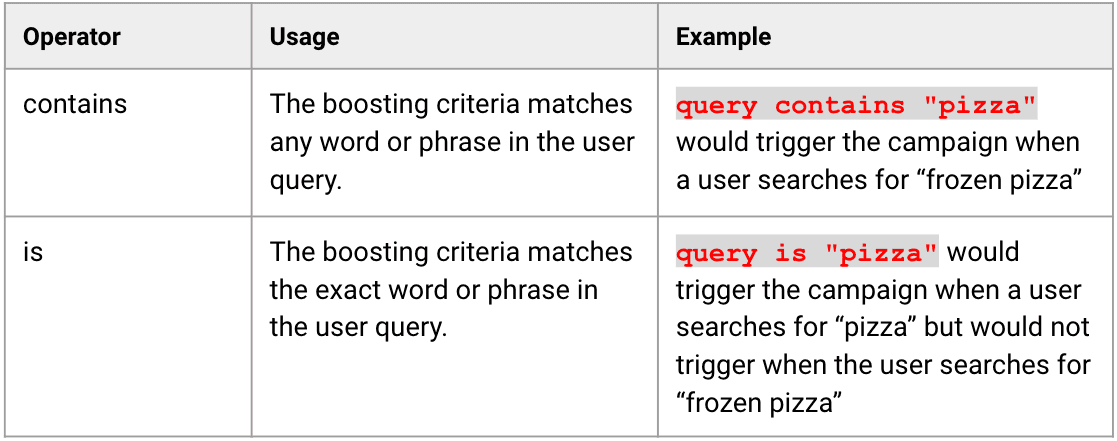
First, set the criteria for triggering the boosting campaign using either a “query contains” or “query is” operator.
You can specify multiple terms to trigger the boosting campaign by separating them with commas. In our example, we want Red Baron frozen pizza to be boosted when a customer searches for “pizza”, “frozen”, or “pepperoni”. Click confirm.

Next, define the set of boosted products to be returned by specifying product attributes such as the title, description, or brand. Since we want Red Baron frozen pizzas to be returned when one of the trigger words is searched, we will define a rule that returns products with titles containing “Red Baron”. For your own use-cases, you can just as easily create a rule that searches on a product’s category, description, brand, or id.
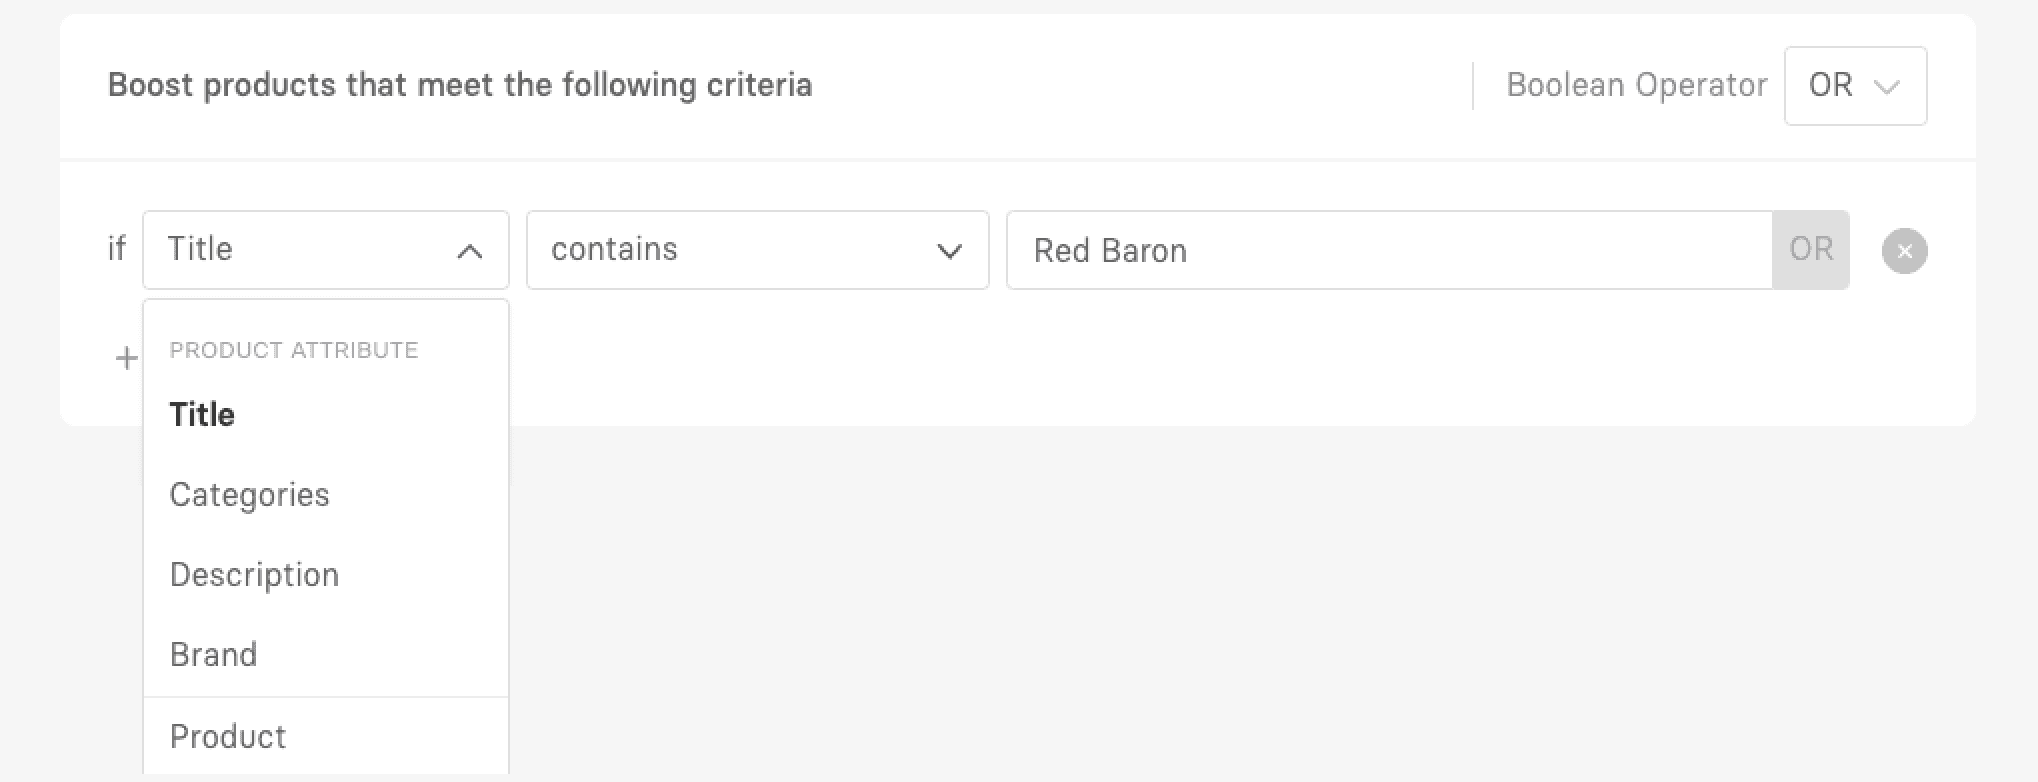
However, as mentioned earlier, we also want to bury a particular product id that is not part of the promotion. Let's add an additional rule using the + Add Rule button. The product id we want to bury is
910224so we'll add that as the condition value. Select the Add Action dropdown and choose Bury.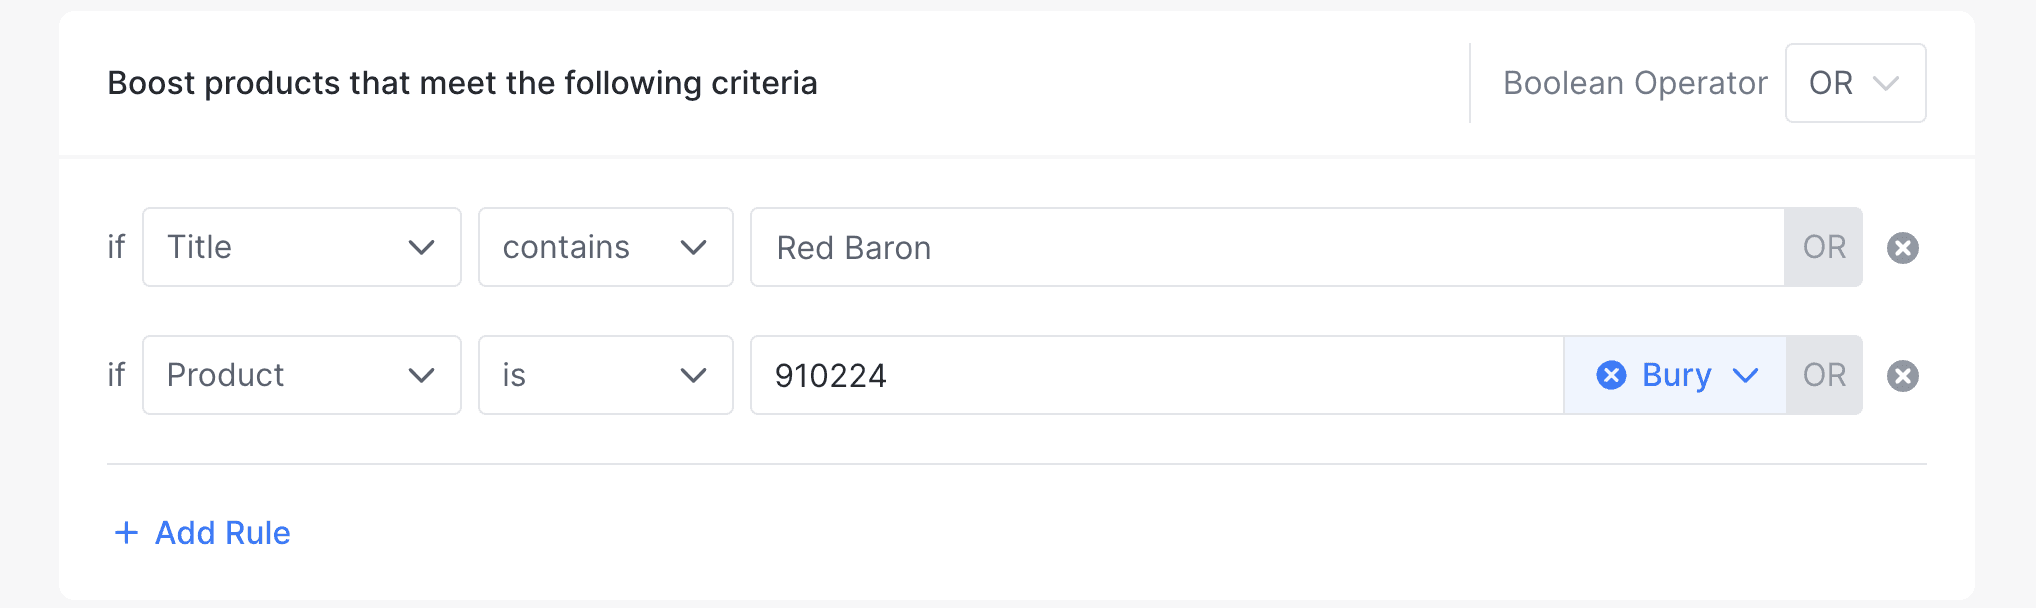
-
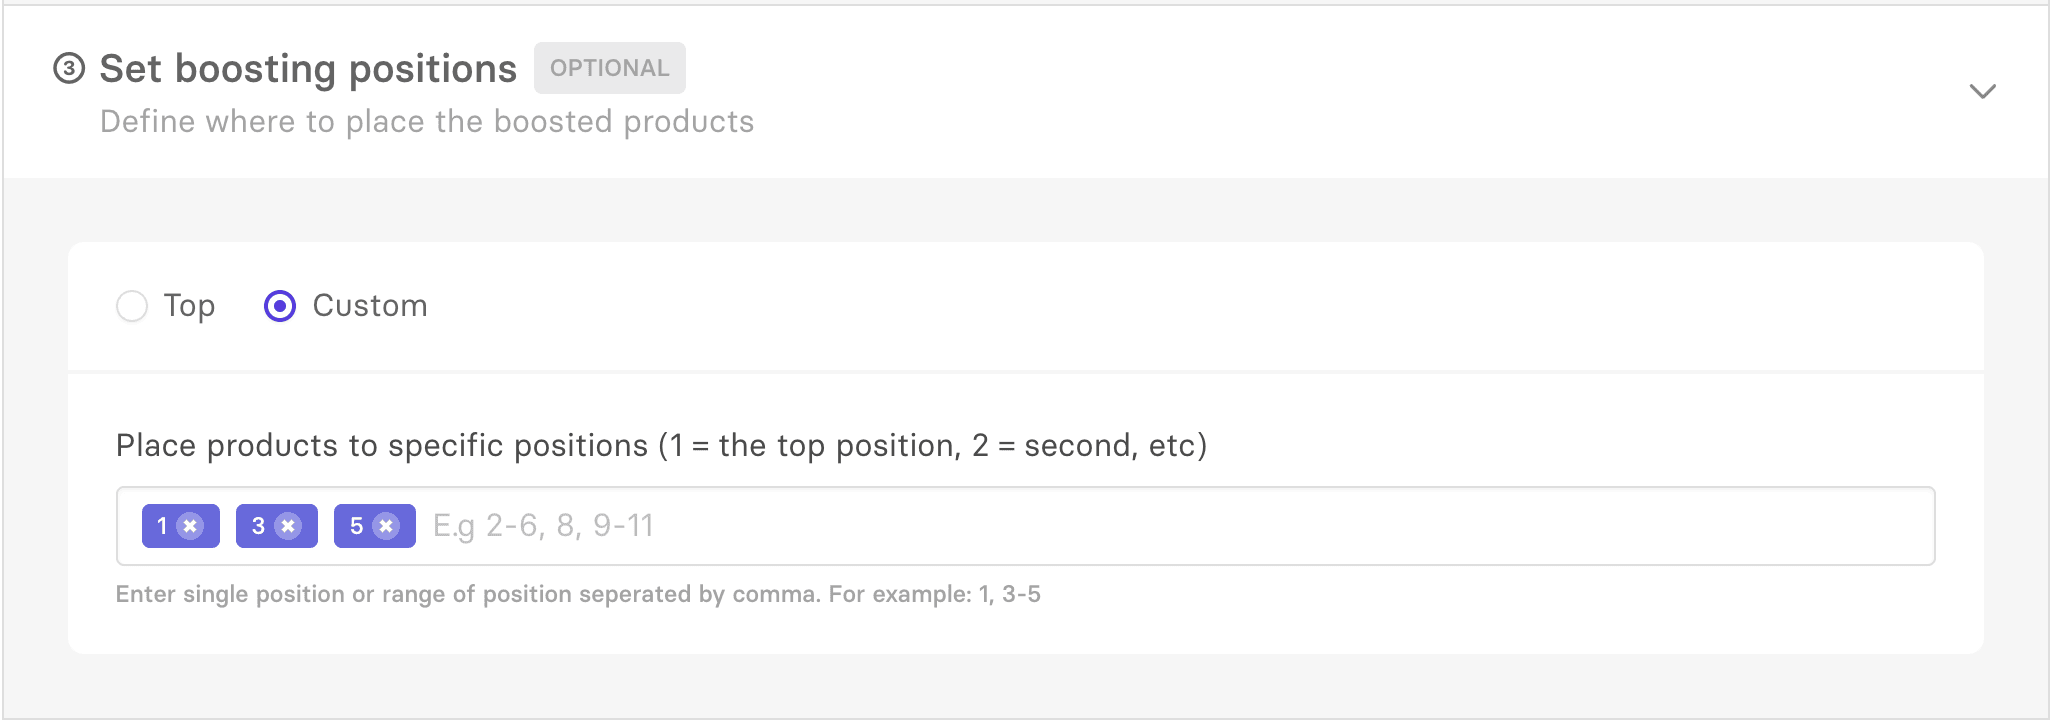
Optional: Set boosting positions (pinning) - By default, boosted products will appear at the very top of the list of relevant products. If your set of boosted products is large, it may negatively impact the diversification and relevance of your search results. To avoid this, you can pin boosted products to specific positions (or range of positions) and return a richer result set.
For our example, we’ll pin Red Baron pizzas to the first, third, and fifth positions.
-
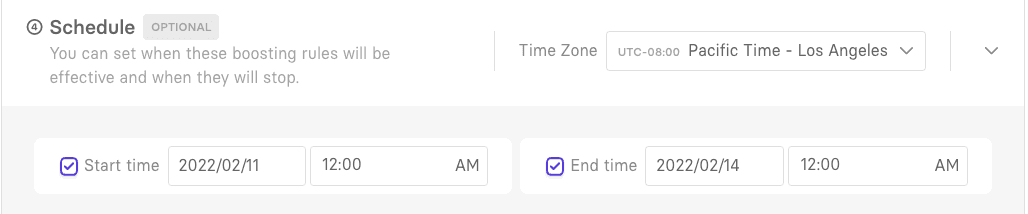
Optional: Schedule - You can include a date/time range for your boosting campaign. This is useful for setting up campaigns in advance or for seasonal campaigns such as holiday sales.
For our example, we configure the Super Bowl promotion to be active from February 11th, 2022 to February 13th, 2022:
-
Press Save to finish configuring your boosting campaign.
After creating your boosting campaign, you can preview the search results in the Dojo sandbox by selecting Preview from the Boosting tab:
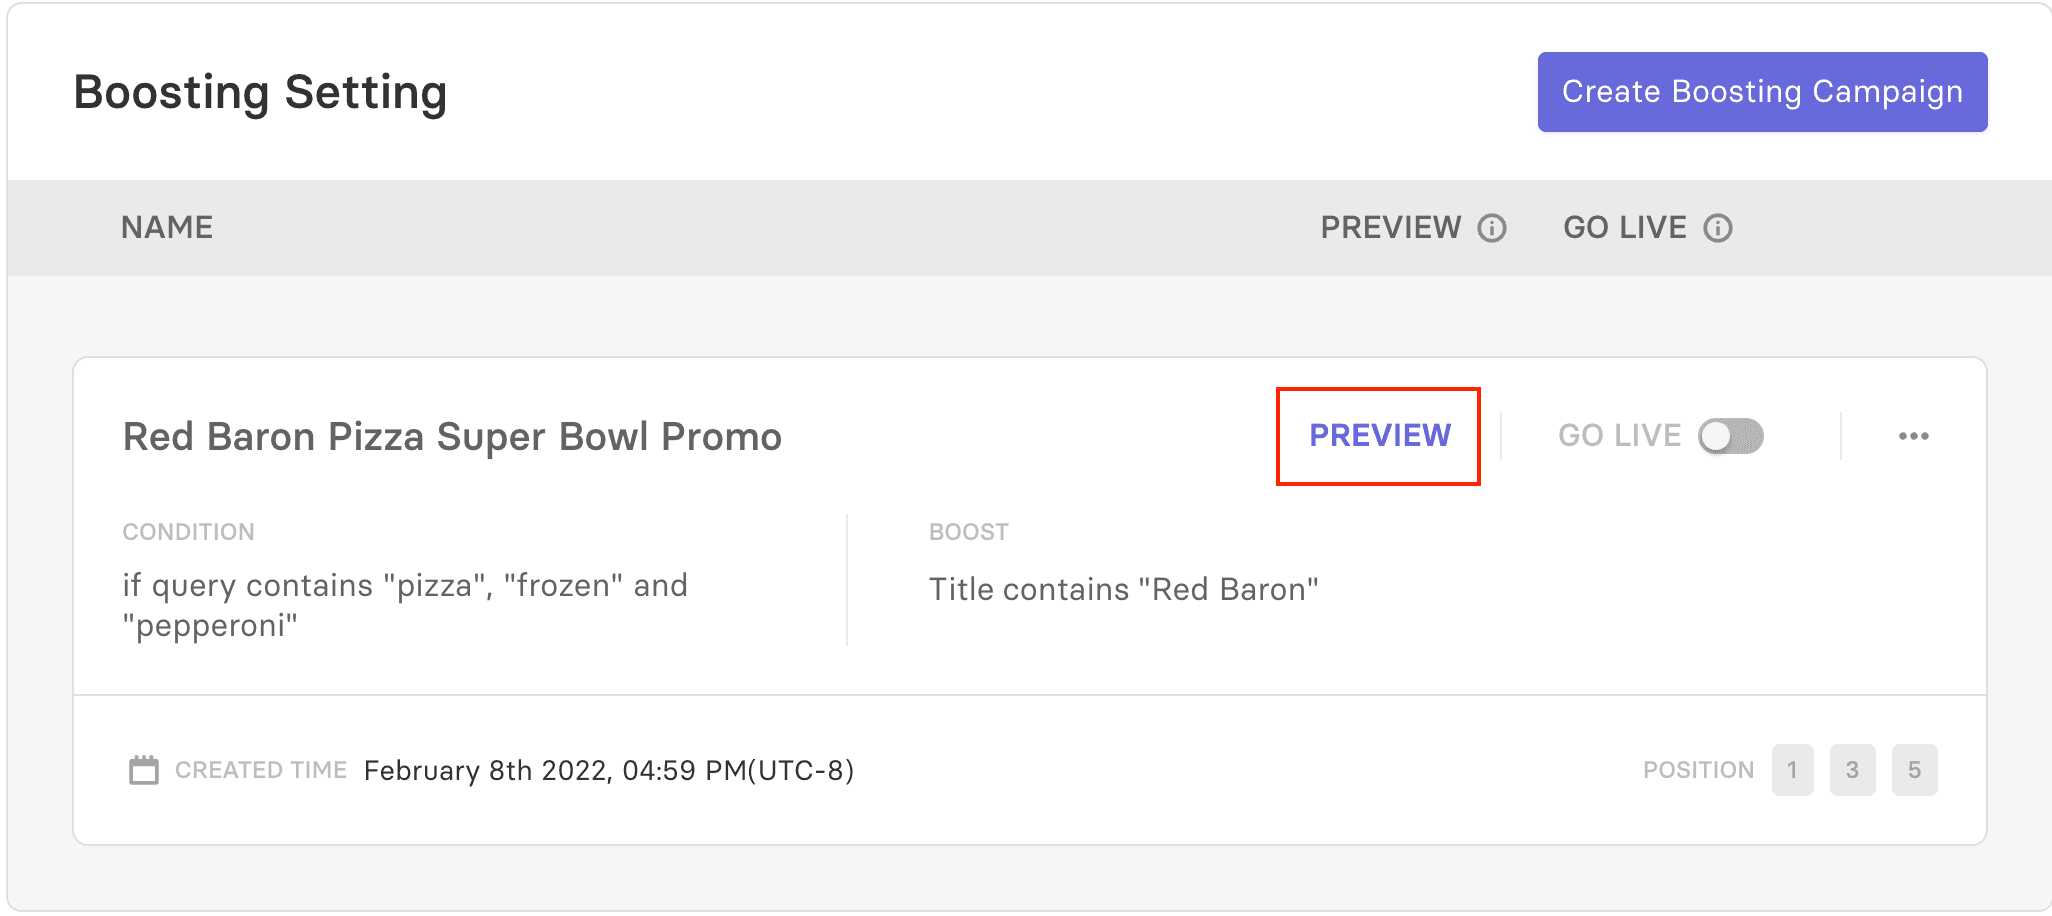
Once you’re ready to start your boosting campaign on live data, toggle “GO LIVE” to on. If you’ve scheduled your campaign to run during a specific timeframe, it will automatically go-live on the start date/time.
Do it with APIs
As an alternative to Dojo, you can apply product boosting programmatically. Every Miso Engine API supports boosting which is implemented identically across APIs. In this example, we will focus on the Search API.
To enable boosting, simply include the boost_fq parameter (using Lucene syntax) in the request body. For example, if we want to boost Red Baron pizzas when a user searches for “pizza”, the API request will look like the following:
POST /v1/search/search
{
    "q":"pizza",
    "user_id":"user-123",
    "boost_fq": "title:\"Red Baron\""
}
Similar to the functionality of the Dojo Dashboard, we can also pin boosted products to specific positions with the boost_positions parameter (using a zero-based numbering array):
POST /v1/search/search
{
    "q":"pizza",
    "user_id":"user-123",
    "boost_fq": "title:\"Red Baron\"",
    "boost_positions": [0, 3, 6]
}
Case Study: Boosting for a Party
In the above examples, we showcased boosting using the Search API. However, this functionality can also be applied just as easily to the Recommendation APIs, as shown in the following example:
Suppose we want to promote items from a curated list of Super Bowl party snacks whenever a user adds a relevant product to their cart:
Add to Cart -> Red Baron Frozen Pizza
Suggest -> Carrot Ranch Dipping Sticks, Totino’s Pizza Rolls, Football Cupcake
The Product to Products API combined with boosting makes this a simple task.
First, we need to indicate which products are part of the Super Bowl party collection. Using the Products/Content Upload API, we can add a custom attribute called super_bowl_boost and set it to true for the product_ids we want to boost:
POST /v1/products
//apply to Carrot Ranch Dipping Sticks, Totino’s Pizza Rolls, Football Cupcakes
"data" : [
{
     "product_id": "carrot_ranch_sticks"
     //additional attributes omitted for brevity
     "custom_attributes": {
          "super_bowl_boost": true
      }
}
]
Next, using the Product to Products API, we can recommend similar products that would pair well with the item(s) in the user’s cart:
POST /v1/recommendation/product_to_products
{
     "user_id" : "user_123",
     "product_id": ["red-baron-pizza-3"],
     "buy_together" : true, //indicates cross-sell instead of upsell
     "boost_fq": "custom_attributes.super_bowl_boost : true",
     "boost_positions": [0,2,4,6] //blend products with Miso’s recommendations
}
Additional Resources
For more information on Miso’s Search API, check out the official API Documentation.
For additional personalization use-cases, visit the Recipes page on our Docs site.
Published Date: February 25th, 2022
API Reference
Need more info on the API? Check out our dedicated API page with all the info you could ever want.
Read API Reference